Once the fuselage plug was completed, I could
proceed with making a mold from the plug.
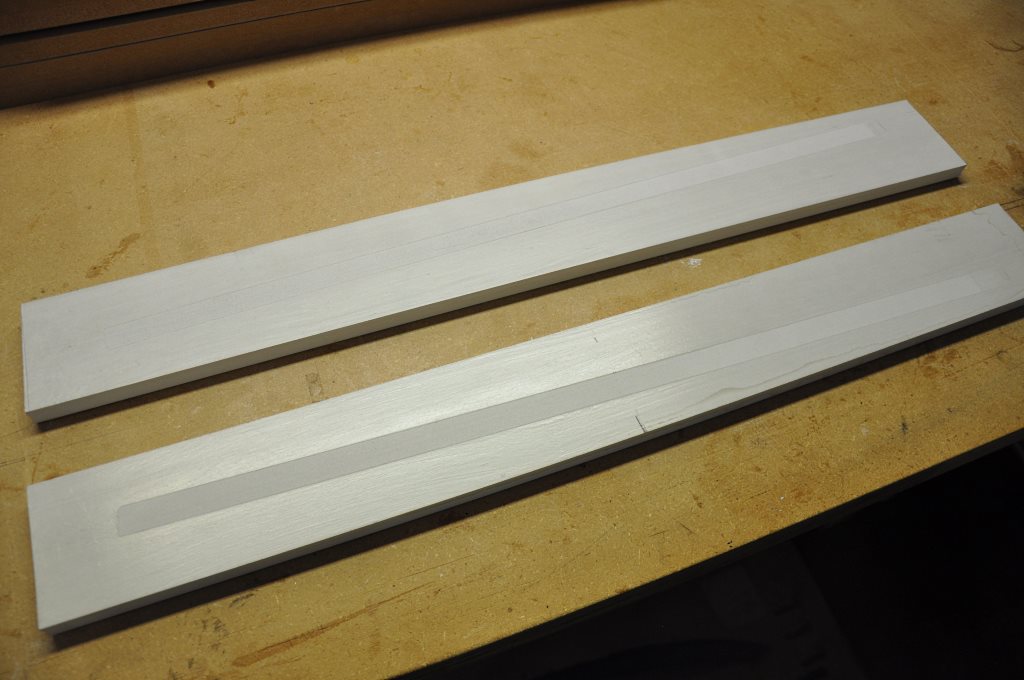
I chose two flat boards and placed a strip of masking tape on the location where the plug halves would rest. This was to keep wax from getting on that portion of the boards.
I then gave the boards 5 coats of wax and two coats of Safelease.
Once the Safelease had dried, I removed the tape.
I chose two flat boards and placed a strip of masking tape on the location where the plug halves would rest. This was to keep wax from getting on that portion of the boards.
I then gave the boards 5 coats of wax and two coats of Safelease.
Once the Safelease had dried, I removed the tape.
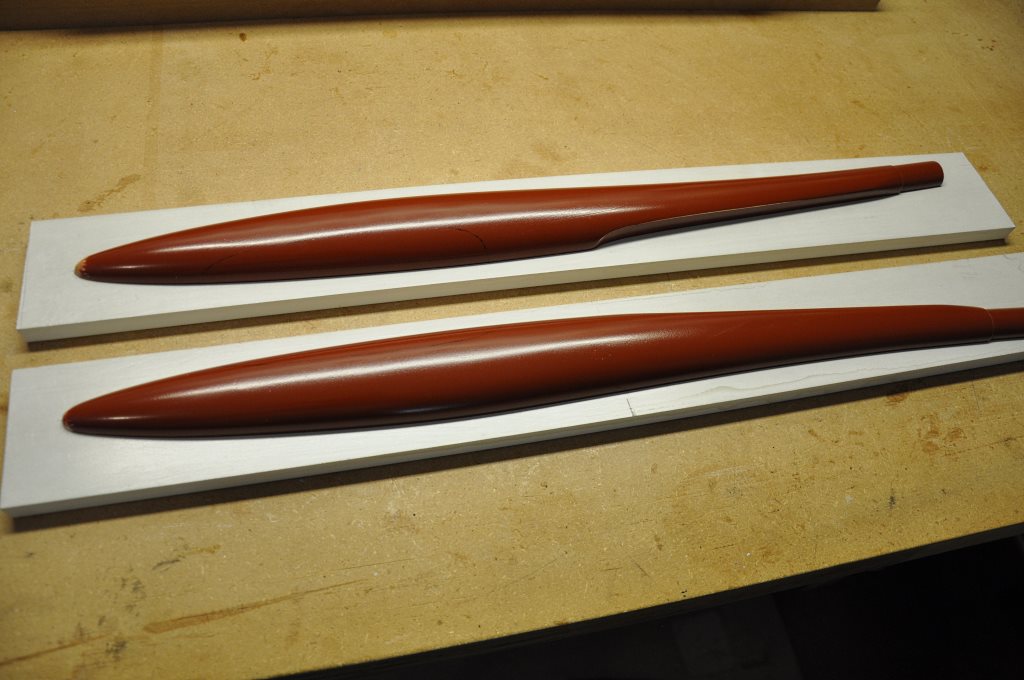
I then separated the plug halves from each other
and used double-sided tape to affix them to the boards.
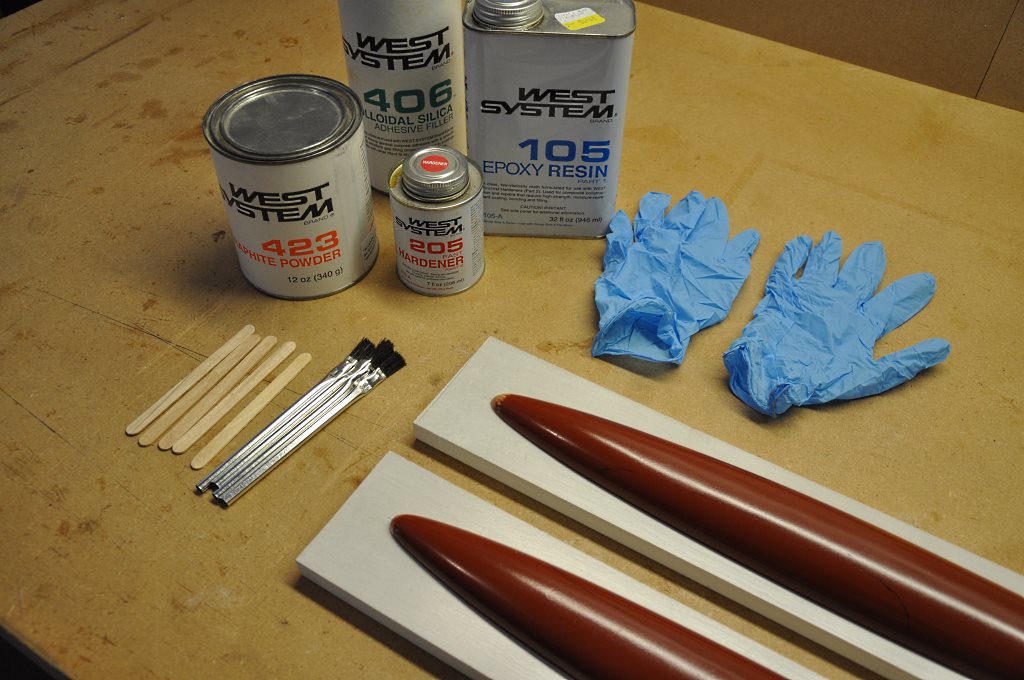
For making the molds, I'm using West System
epoxy.
The graphite powder is to blacken the gel coat and the silica is for thickening the gel coat.
A black gel coat makes it easier to see air bubbles during the fuselage fabrication process.
The graphite powder is to blacken the gel coat and the silica is for thickening the gel coat.
A black gel coat makes it easier to see air bubbles during the fuselage fabrication process.
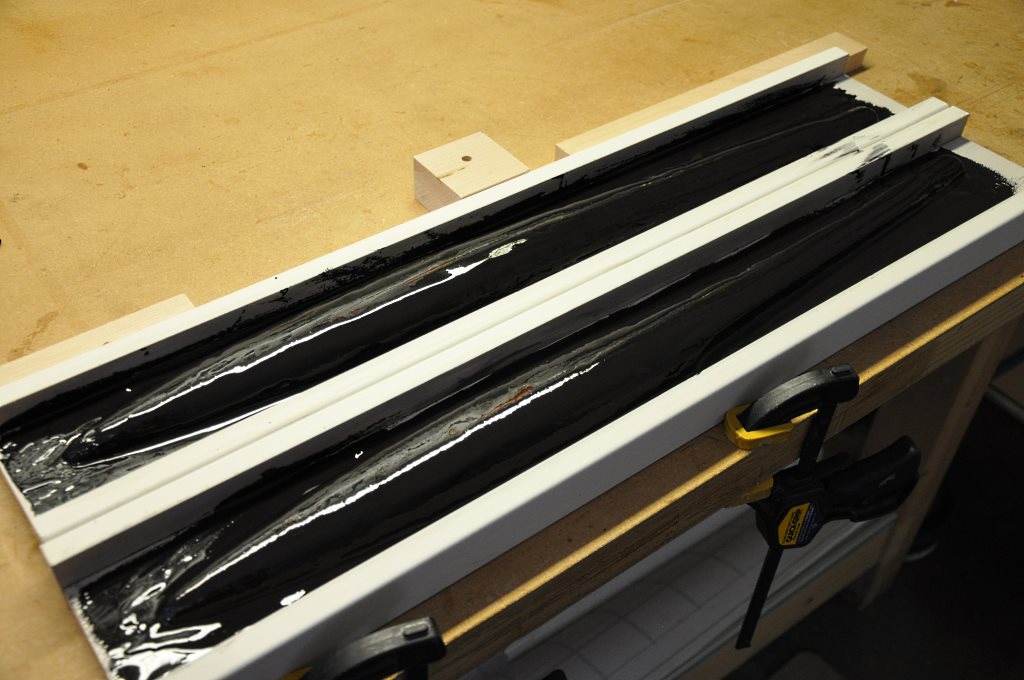
Before laying down the gel coat, I added some
side-walls to the boards. These will provide shaping to the
exterior of the molds.
I mixed up the gel coat and brushed it over the molds and exposed portion of the boards.
While it is not necessary to brush the gel coat on the side boards, I did it anyway just to give the finished molds a consistent color.
I mixed up the gel coat and brushed it over the molds and exposed portion of the boards.
While it is not necessary to brush the gel coat on the side boards, I did it anyway just to give the finished molds a consistent color.
When the gel coat reached a tacky consistency, I
brushed on unthickened epoxy and a layer of light weight fiberglass.
I then added several layers of heavier weight fiberglass ending up with a few layers of 6 oz. glass.
I then added several layers of heavier weight fiberglass ending up with a few layers of 6 oz. glass.
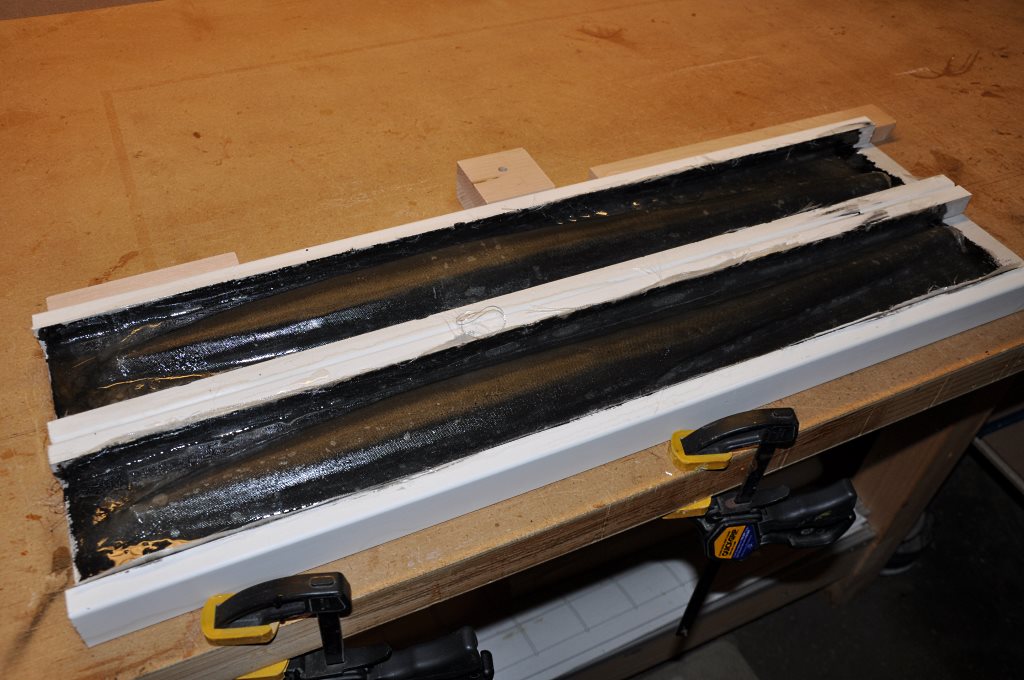
I wanted to have my molds be closer to solid
blocks when finished, but I didn't want to (nor was there a need to)
use fiberglass to fill the significant volume of the molds.
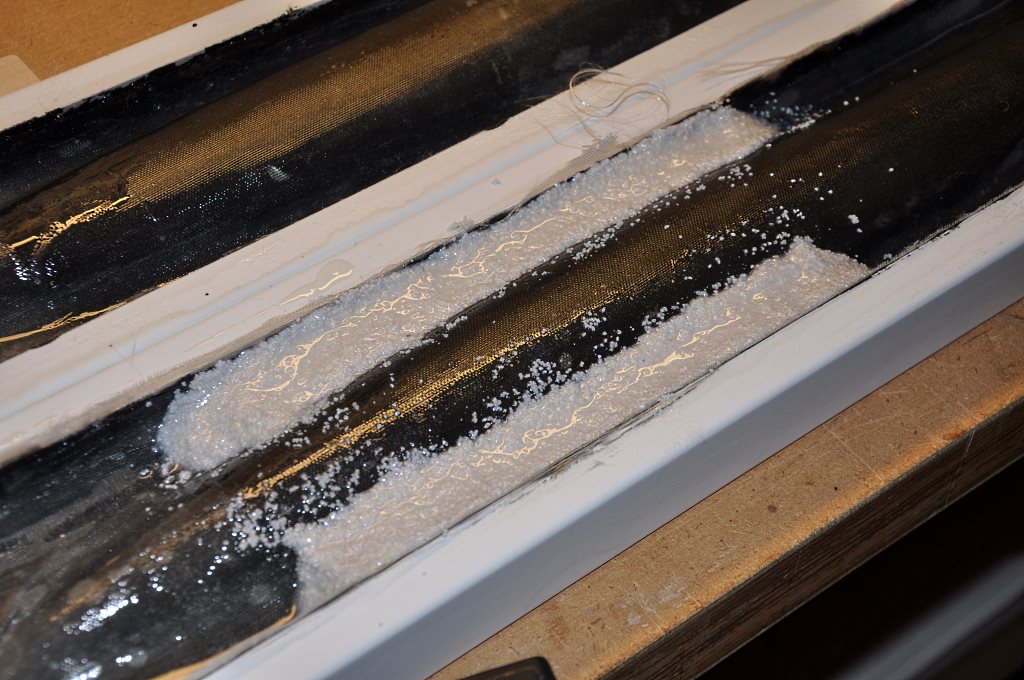
So instead, I mixed epoxy and fine aquarium sand that I had purchased at my local pet store and scooped that mixture in place to bring the molds level with the side walls.
Sand is bulky and fills the space quickly... It does use a lot of epoxy, however; so if you go this way make sure you have a lot of epoxy on hand before you start.
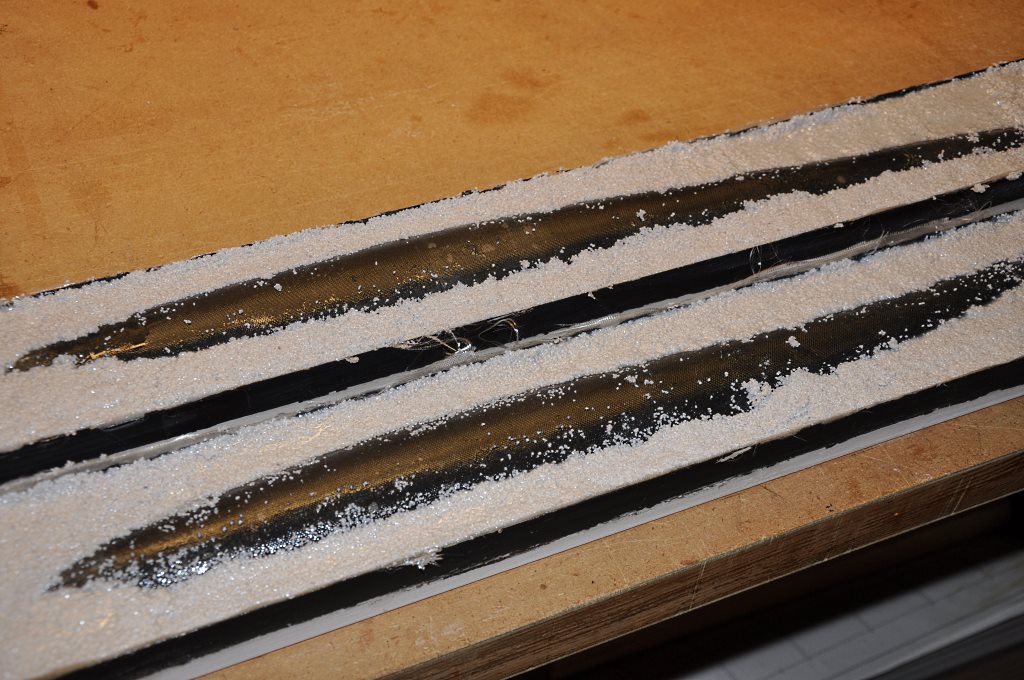
Once I was satisfied with the amount of sand
backing, I set the molds aside and let them cure.
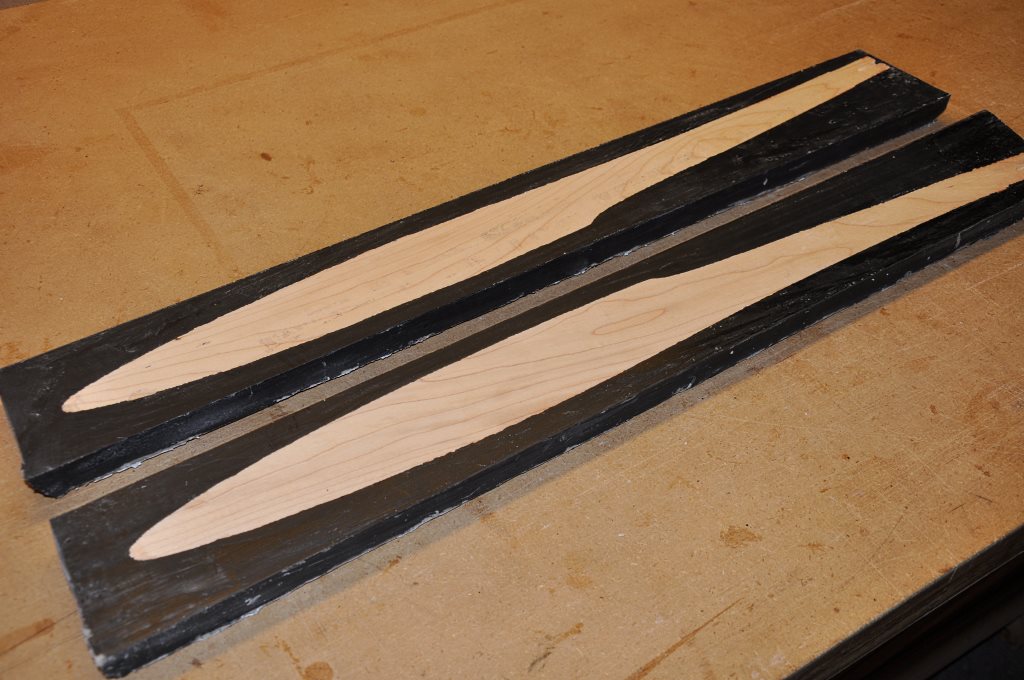
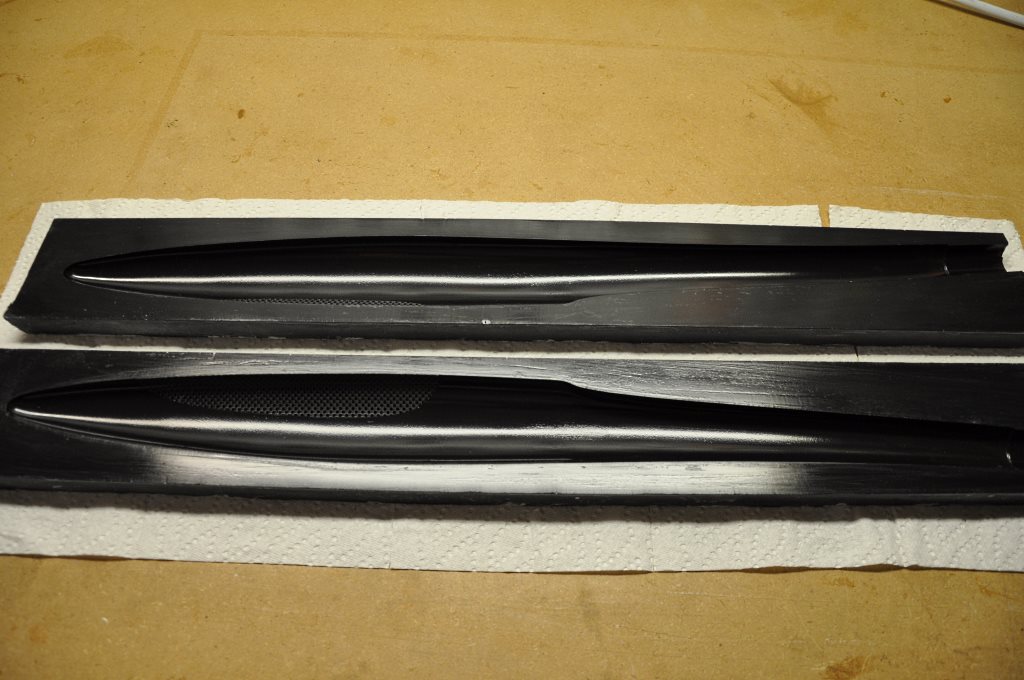
After the molds were cured, I flipped them over
and cleaned up any of the gel coat that had worked its way under the
plug halves -- I wanted to ensure that nothing would impede the
removal of the plugs, or damage the plugs during the removal
process.
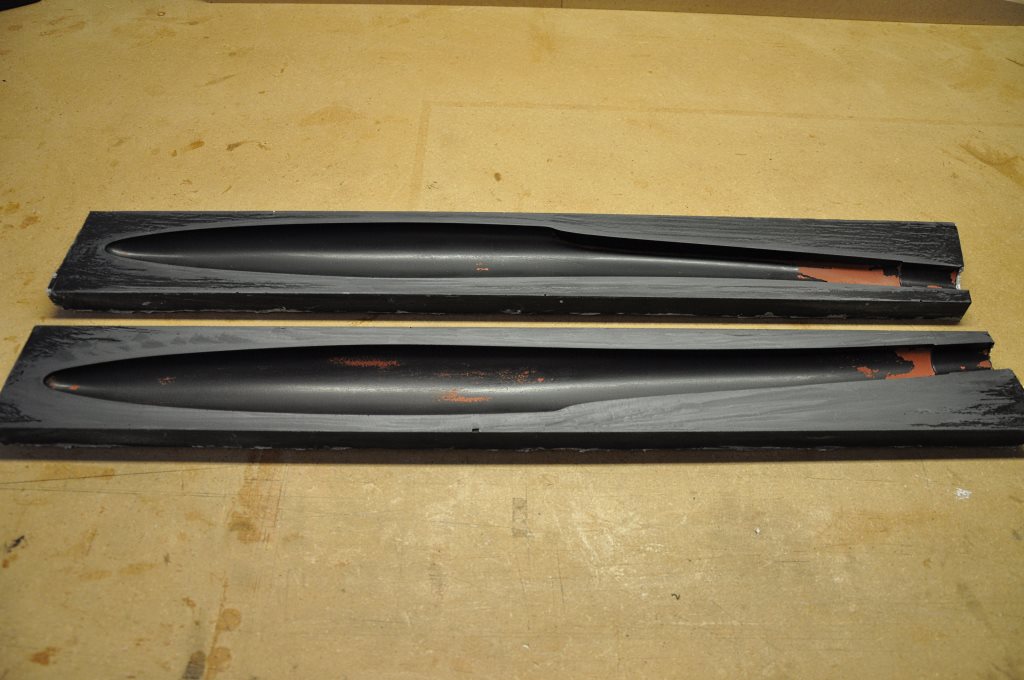
Once the plugs were removed I needed to clean up
the molds.
You can see that some of the primer stayed with the molds, so I used some rubbing alcohol to clean if off.
I then waxed and buffed the molds 5 times and rubbed on two coats of Safelease in preparation for pod production.
You can see that some of the primer stayed with the molds, so I used some rubbing alcohol to clean if off.
I then waxed and buffed the molds 5 times and rubbed on two coats of Safelease in preparation for pod production.
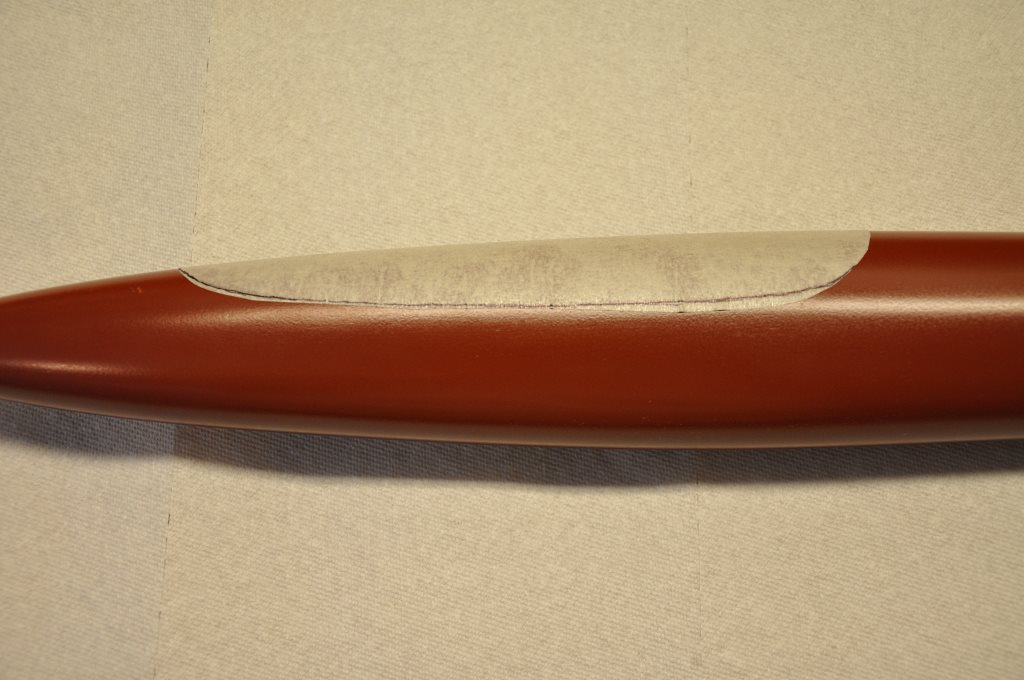
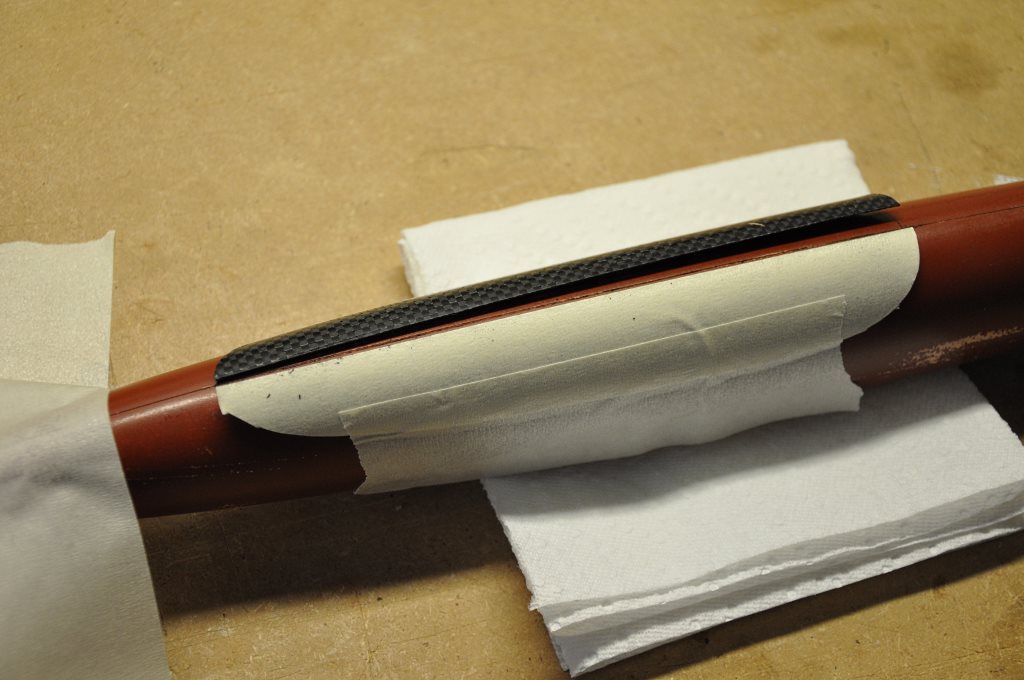
To make a removable hatch, I re-attached the two
plug halves and masked off a suitable looking hatch area.
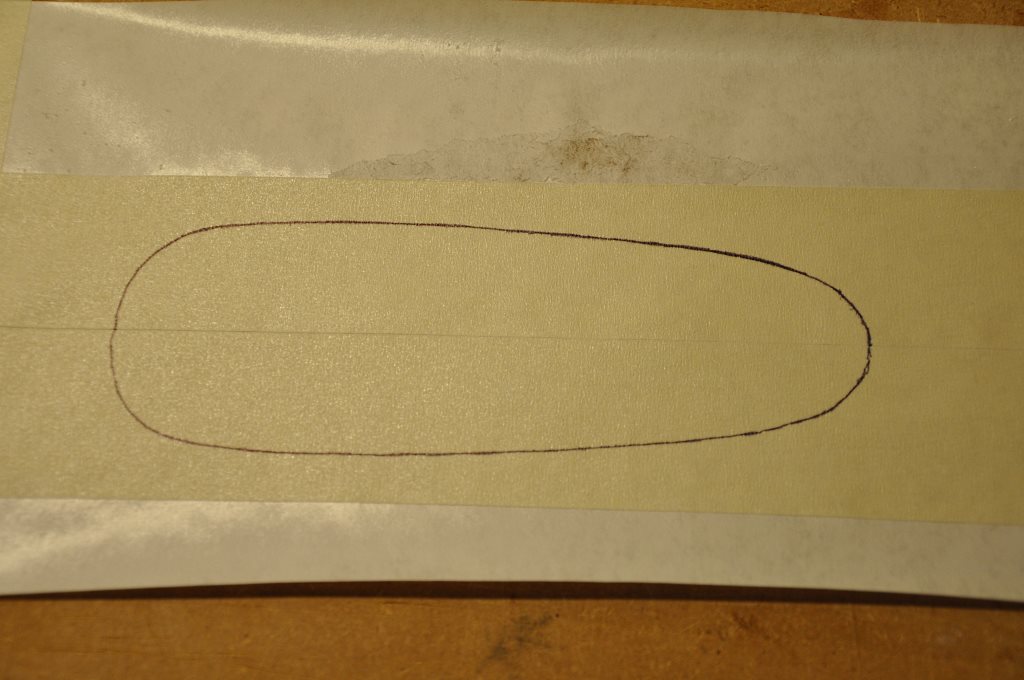
I then transferred the hatch shape onto another
piece of masking tape and cut out the hatch area.
I then positioned that tape onto the plug.
When I make a mold of this area, the small step between the plug and the tape, will effectively give me the cutting location of the hatch to ensure an exact fit.
When I make a mold of this area, the small step between the plug and the tape, will effectively give me the cutting location of the hatch to ensure an exact fit.
This hatch mold is quick and uncomplicated.
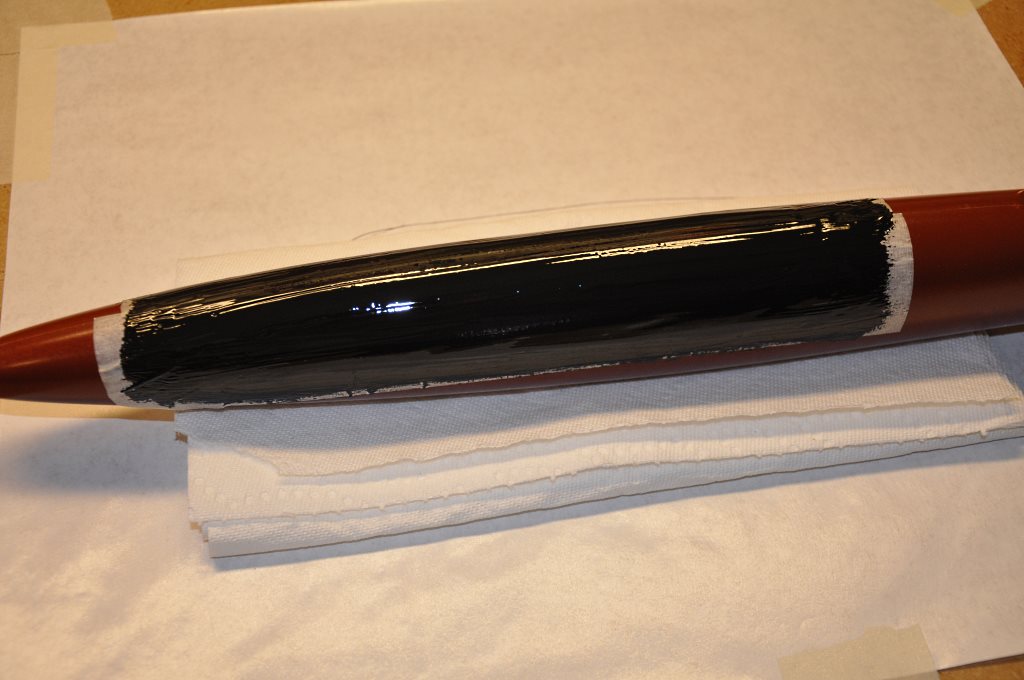
I mixed up a gel coat and brushed it over the hatch area.
After that I applied successive layers of fiberglass starting with thin glass and building to thicker layers.
I mixed up a gel coat and brushed it over the hatch area.
After that I applied successive layers of fiberglass starting with thin glass and building to thicker layers.
I bagged the layup and applied vacuum pressure
until it cured.

Once cured, I removed the mold, cleaned it up and
waxed it via my normal waxing process.
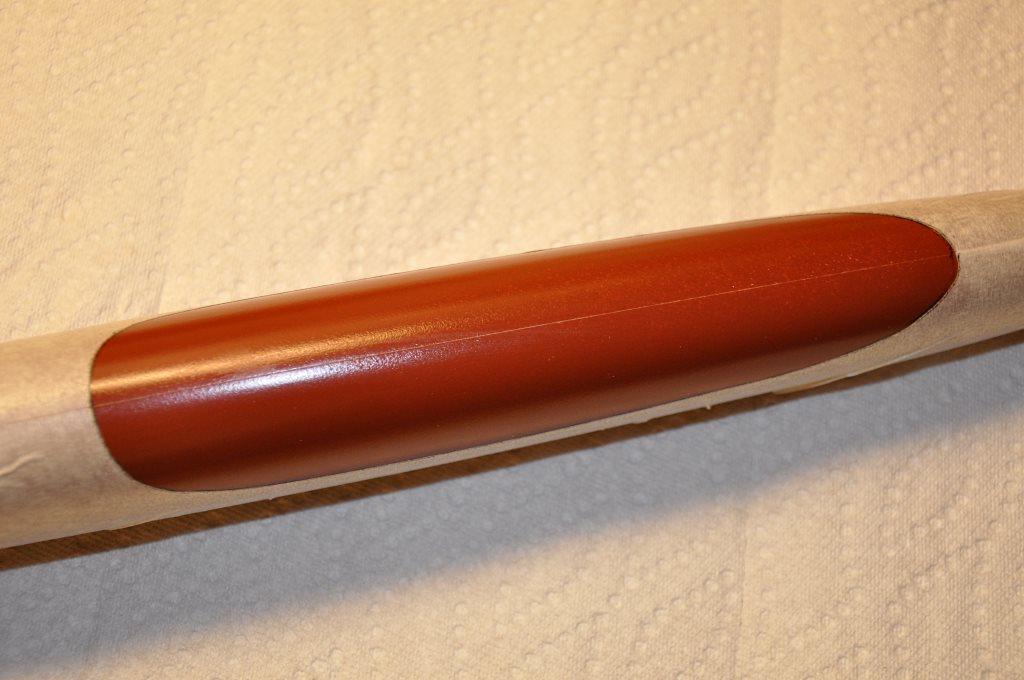
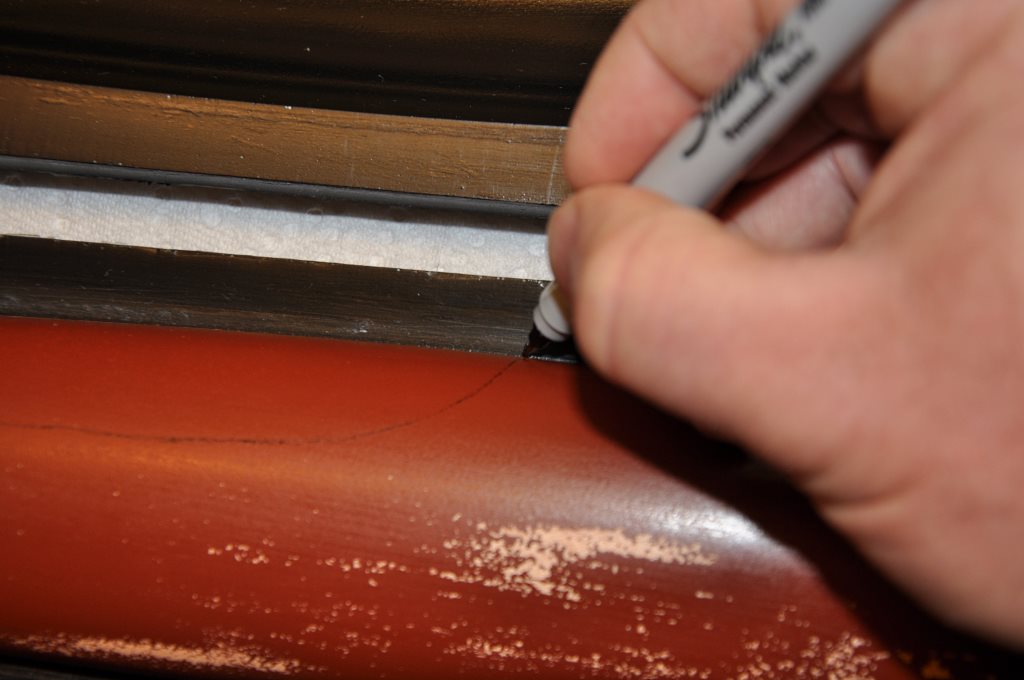
You can see that little step created by the tape that gives the hatch outline... this ridge will transfer to the molded hatches for a cutting reference.
You can see that little step created by the tape that gives the hatch outline... this ridge will transfer to the molded hatches for a cutting reference.
Next I molded a hatch that would serve as a
sacrificial hatch
offset in the fuselage molds to create a precise hatch recess in the
molded fuselages.
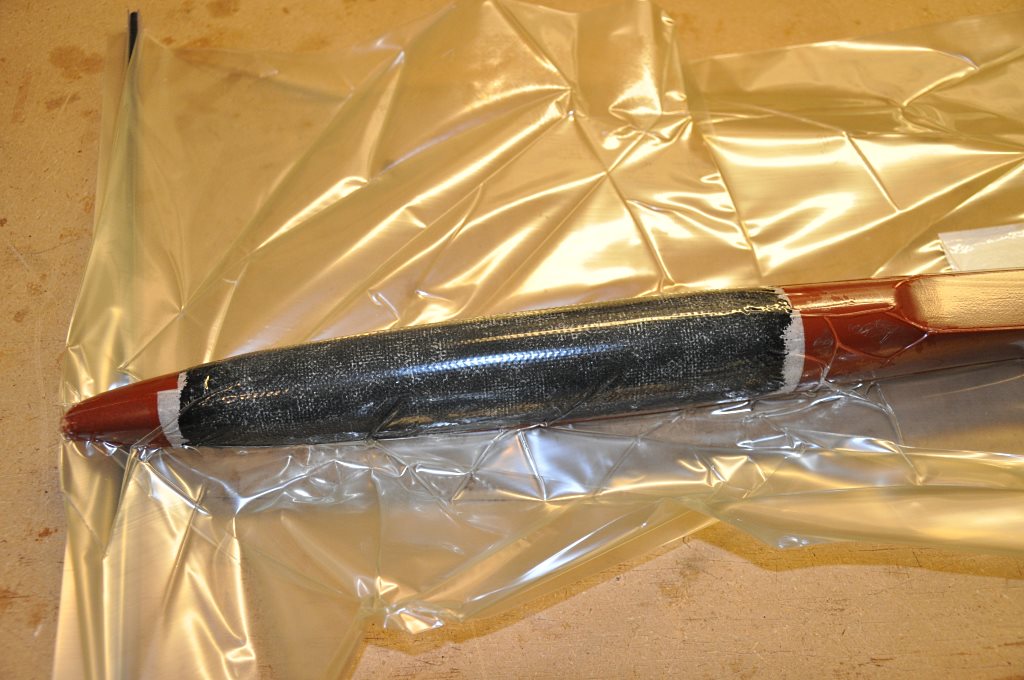
I used a single piece of 5.7 oz. woven carbon fiber cloth - this is the exact and final hatch layup for the production hatches.
I used a single piece of 5.7 oz. woven carbon fiber cloth - this is the exact and final hatch layup for the production hatches.
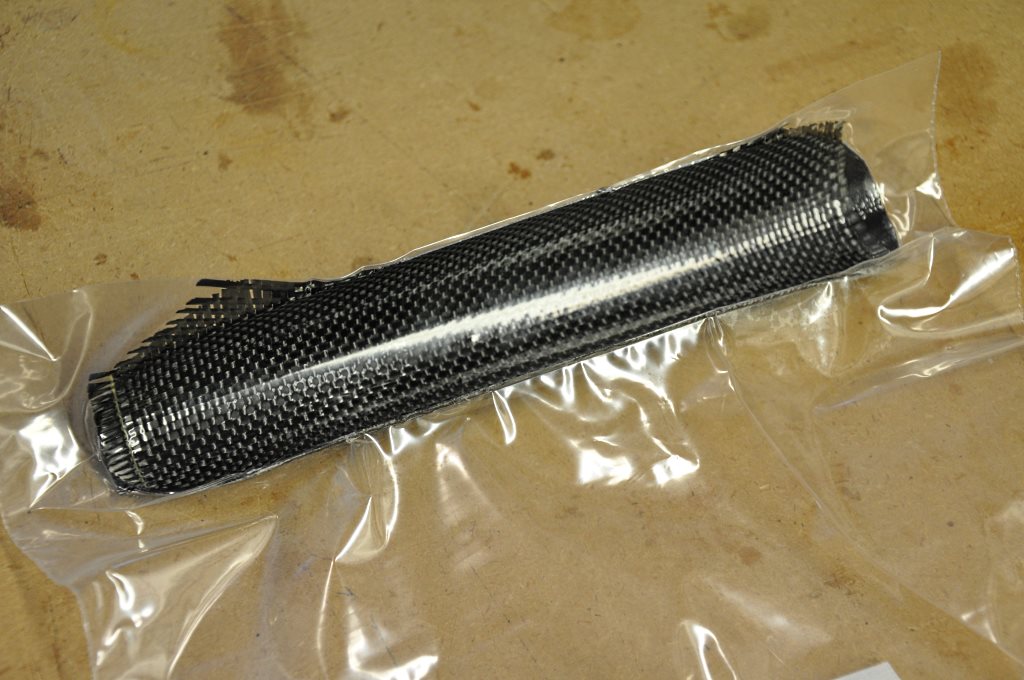
Once the sacrificial hatch was cured, I trimmed
it to shape and placed tape exactly at the half-way line of the
hatch.
The tape simply provides a cutting reference.
The tape simply provides a cutting reference.
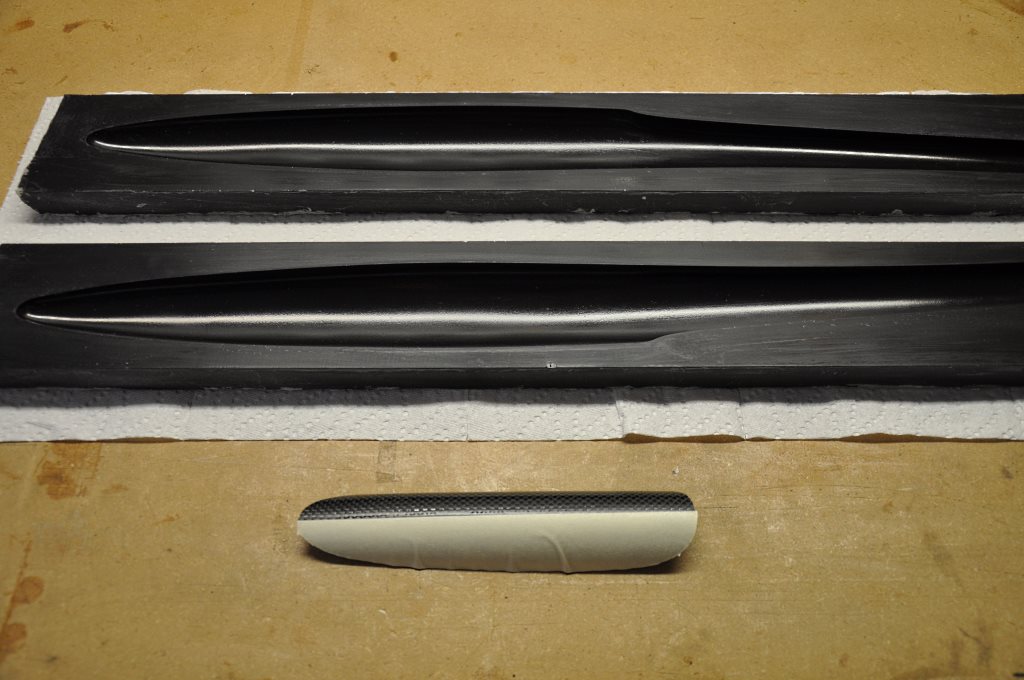
I placed the sacrificial hatch back on the plug
and cut down the center line.
I then transferred the hatch location to the
inside of each mold, and after spraying the sacrificial hatch pieces
with 3M Super 77, attached the hatch pieces to each mold.
I then waxed up the inside of the sacrificial
hatch pieces and the fuselage molds were ready for use.