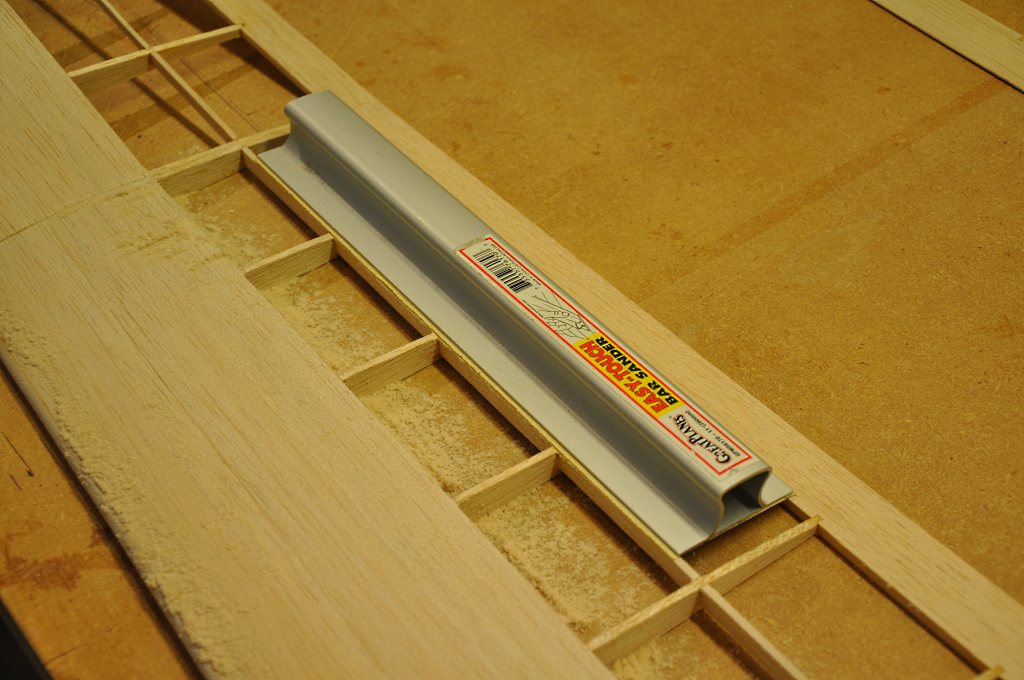
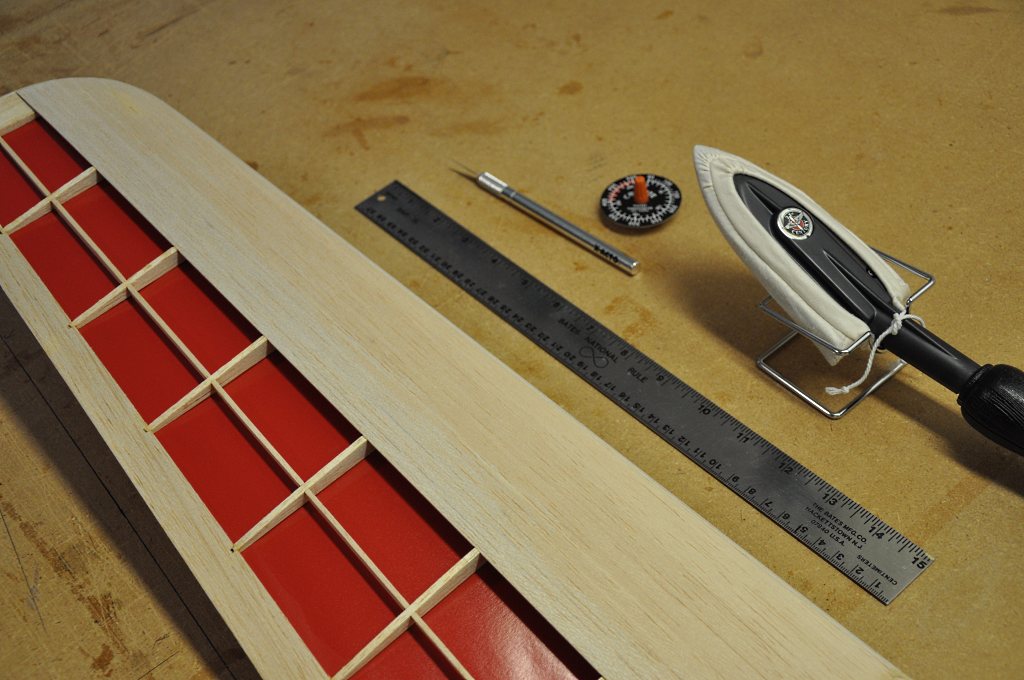
To prepare for covering the glider, the first step was to ensure that all surfaces were properly shaped. (This is before I started doing fine-grained sanding for smoothness.)
During this step I was ensuring that panel segments, such as this segment aft of the rear support strips, were flat across the segment.
I made sure the transition between center and mid panels were accurate and took this opportunity to fill in any holes with some filler.
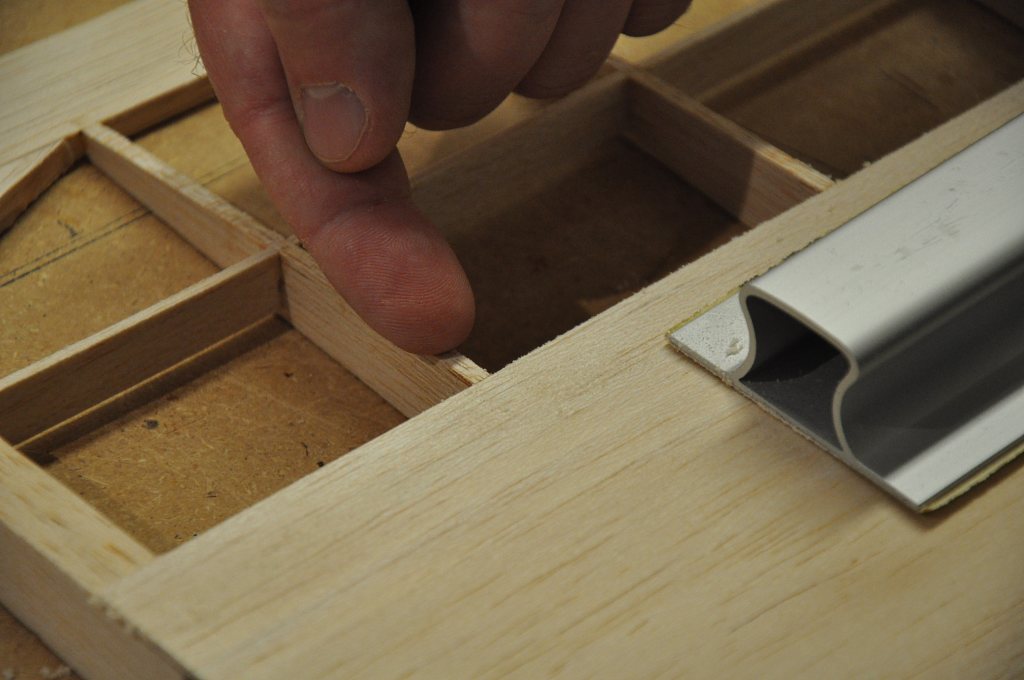
I used my fingernail frequently to check for any areas with an uneven joint transition that might create a bump or kink or pinch in the covering film.
By starting at the trailing edge (in this case) and running my fingernail along the rib up onto the sheeting, I could check for any areas that caught my nail. If I found any, that area still needed sanding.
I confess to being a bit fanatical about "no bumps" at this stage - but this was my last chance to ensure a good foundation for covering.
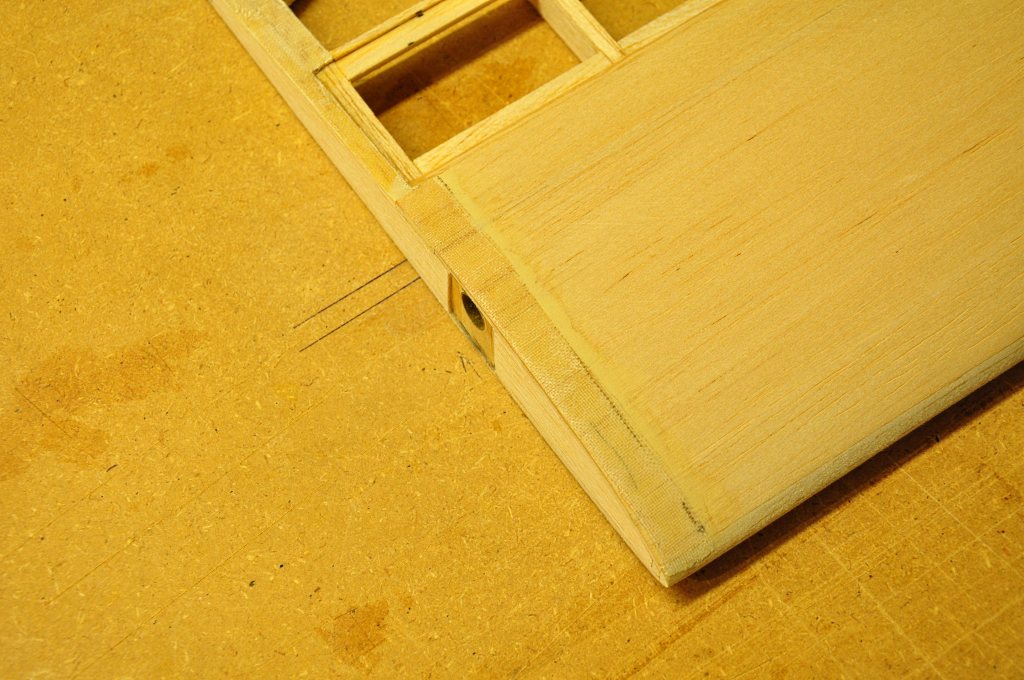
After the final "shaping" was done, I applied some filler to any area that needed a better transition from on section to another - an example was here at the center panel end-rib glass.
I applied the filler as needed, waited for it to dry and then sanded to achieve complete smoothness across the whole area.
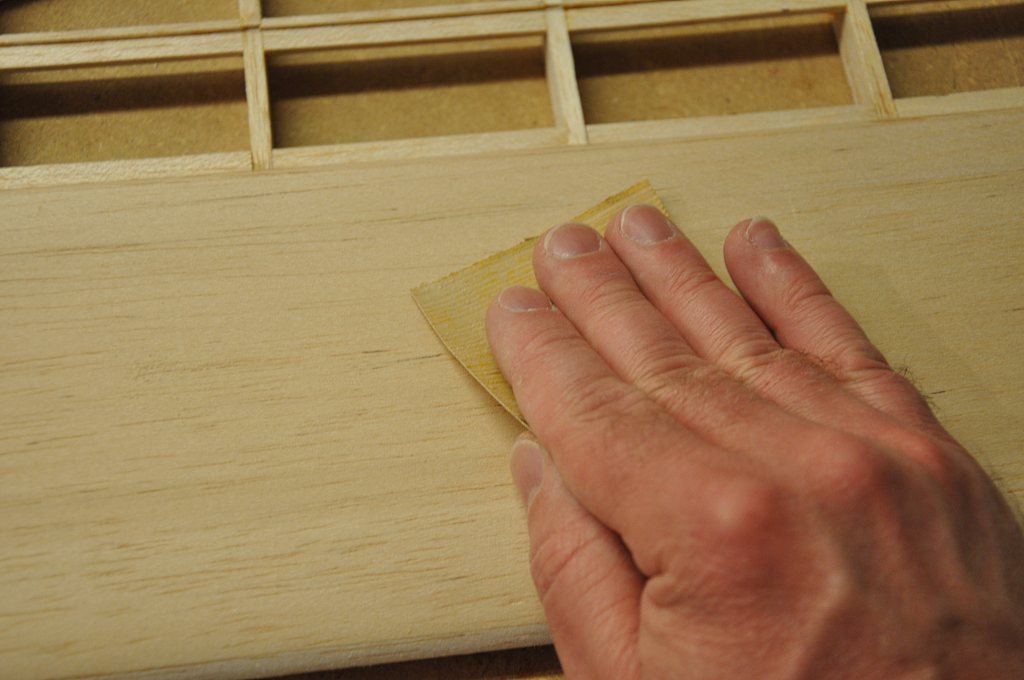
Once I was content with everything, I proceeded with finish sanding.
I sanded with successively finer grit sandpaper (120, 220, 400) to achieve a very sooth surface.
I wiped the wood with a damp cloth remove sawdust and to "raise the grain" - then I sanded again with the 400 grit to remove any fibers that "stood up" because of the wet cloth.
The final step was so wipe away any remaining sawdust with a tack cloth.
Ok. So here is where I'm departing from "Bubble Dancer Standard Aesthetic" - I'm not going to use transparent covering!
While I appreciate the beauty of the built-up structure, I decided I wanted a unique look for my Bubble Dancer and am going opaque. Besides, I have memorialized this Bubble Dancer's bare structure in this website and can look at it here any time I want! :-)
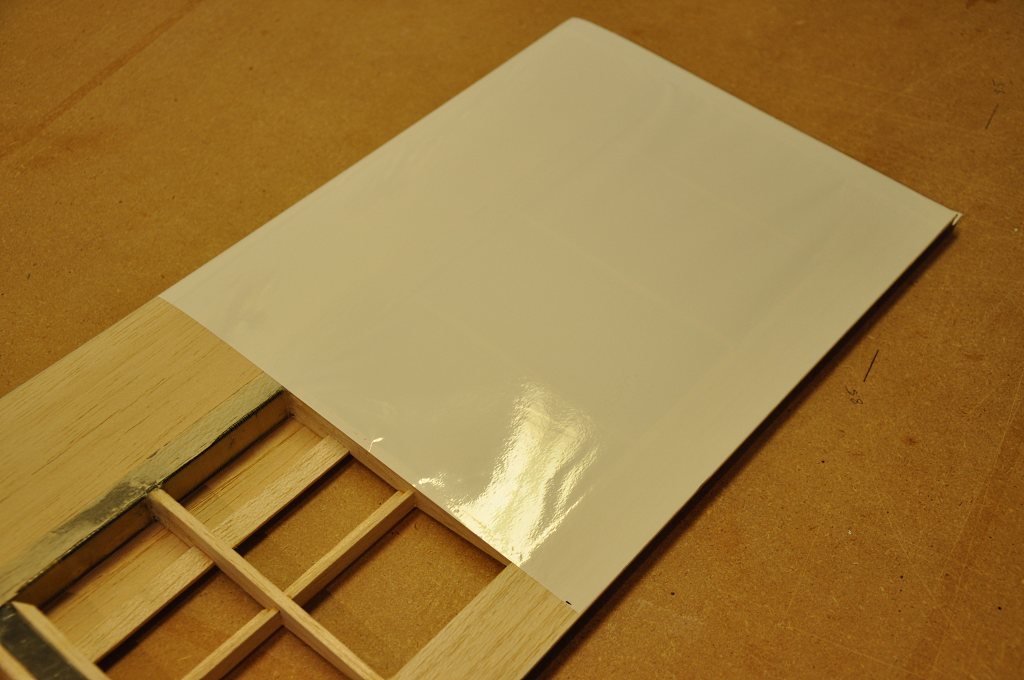
I'm using Ultracote, Deep Red and White as my colors. I started by covering the bottom of the tip panels.
You can see my alternating red/white pattern for the wing bottom in this shot.
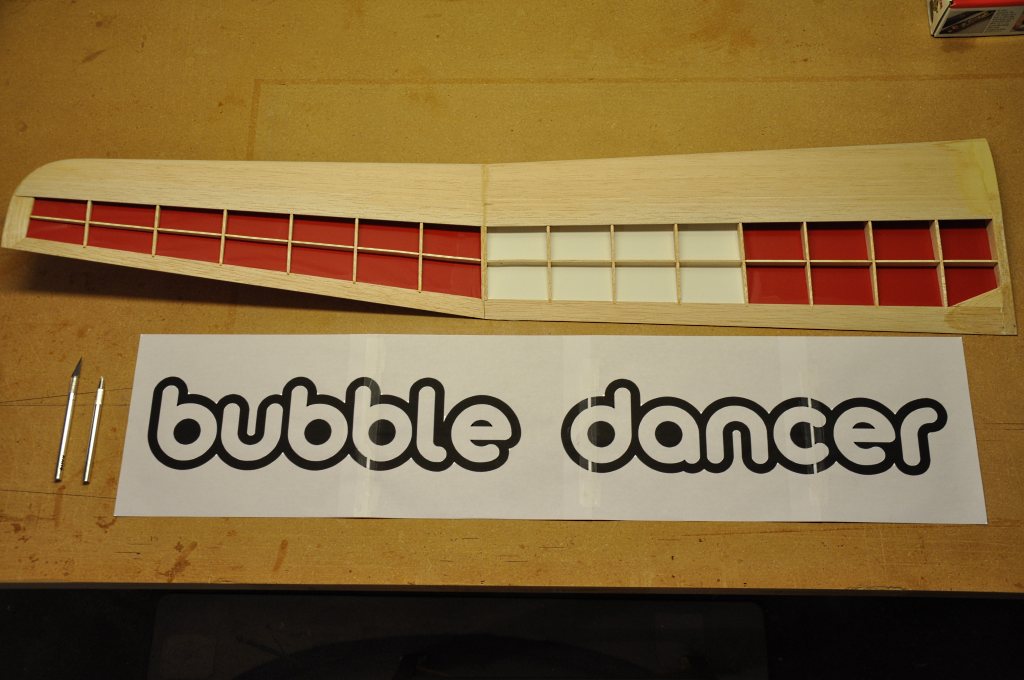
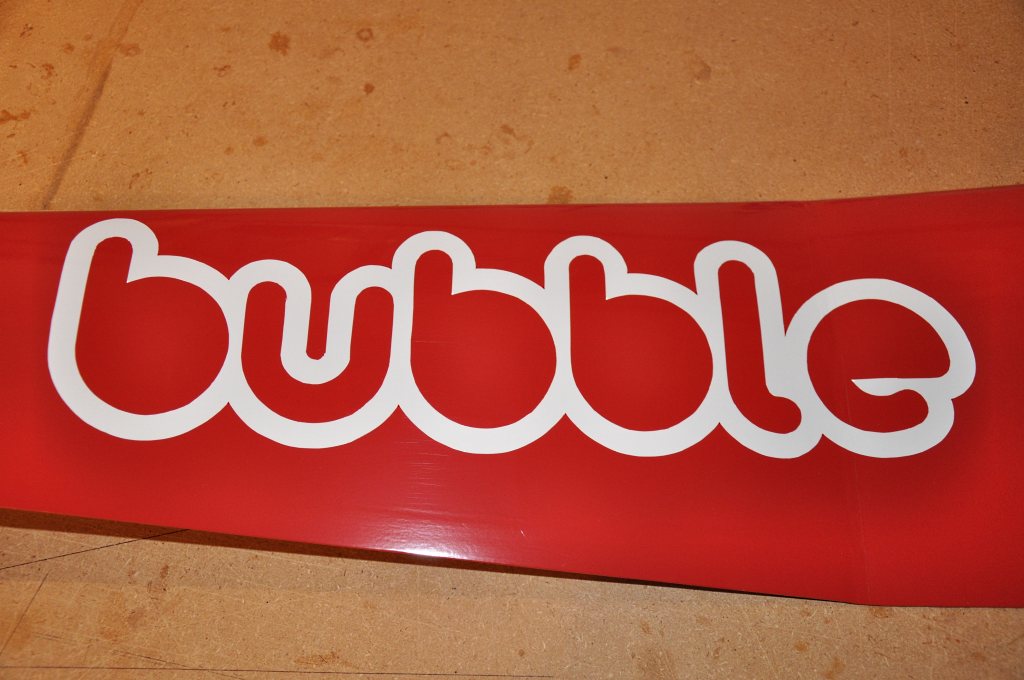
I'm going to add the words "bubble dancer" to the top of the left wing panel as seen in this picture.
I selected a sufficiently "bubbly" font and typed out the words in Inkscape. I then scaled the height to 4-1/2 inches and the result is what you see here.
Finally, I exported 4 different sections to .png files. I then opened the png's in Windows and printed them unscaled on 4 sheets of paper.
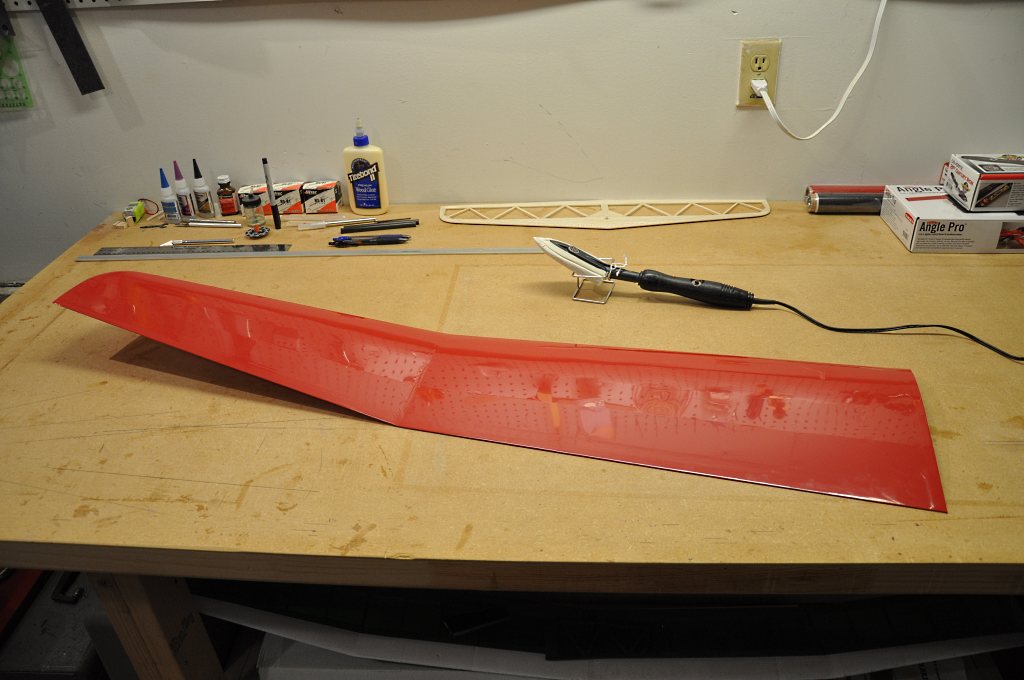
I covered to top of the left panel completely in red as seen here.
I then proceeded to prepare my letters to place over the red covering. This turned out to be a more involved process than I anticipated.
I tried four different methods of cutting out the letters in white ultracote, before hitting on one that produced acceptably accurate results.
You may have found something that works well, but I'll describe the method I settled on below...
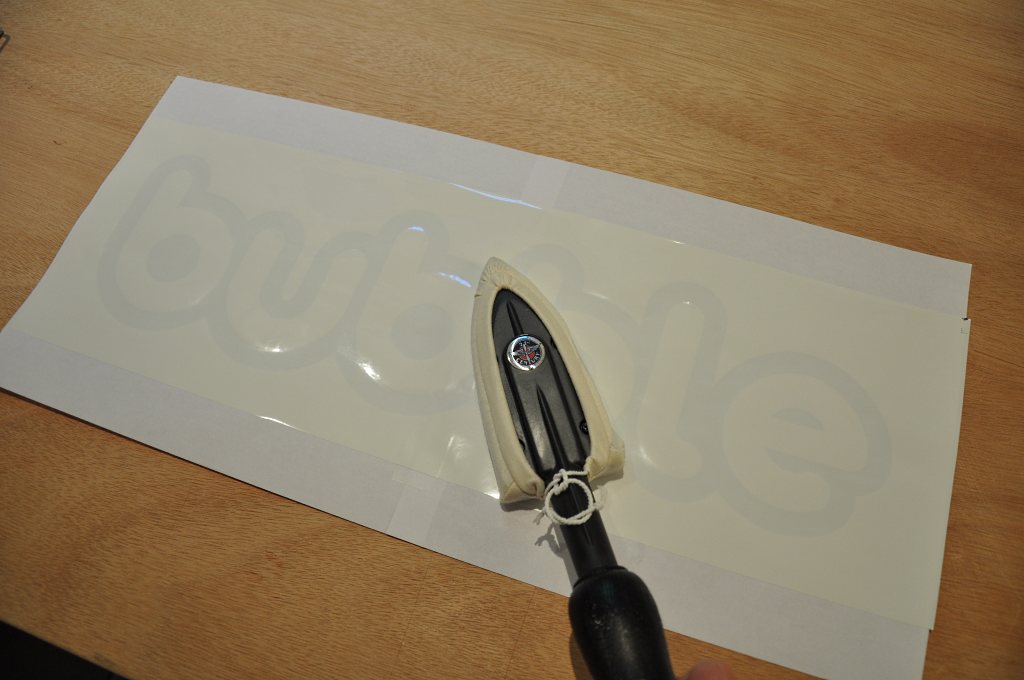
I first joined the printed pages as needed, working on "bubble" first, then "dancer."
Then, with my iron set at 220 deg. F, I ironed the Ultracote to the paper.
I followed this with a rough trim to remove the excess paper from around the letters.
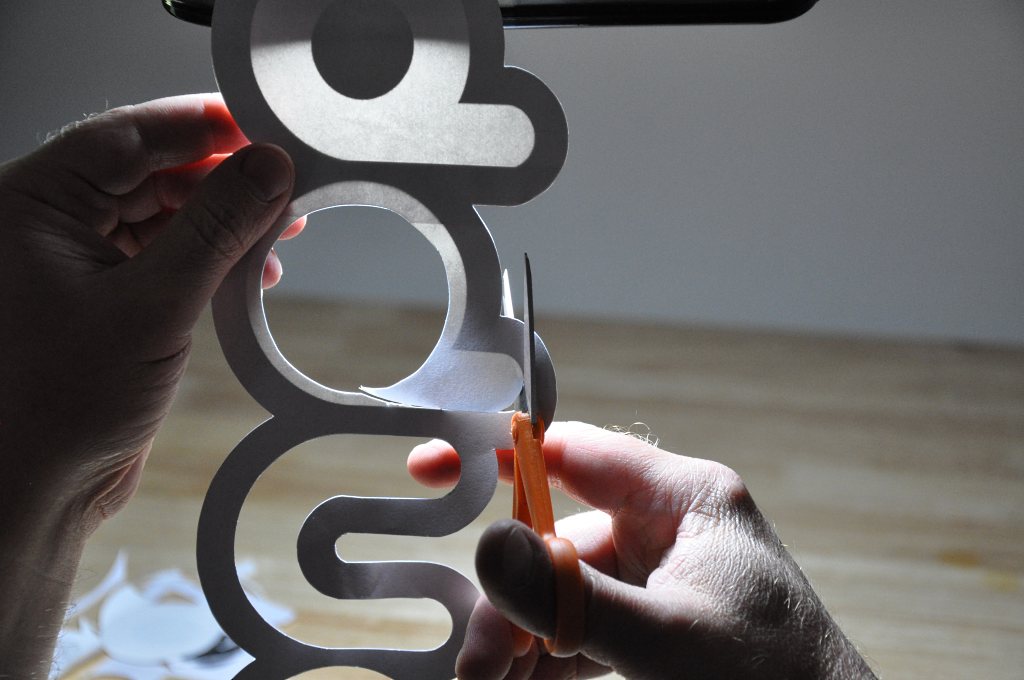
I then held the letters up to a strong light where it became very easy to see the line between white and black.
I put on a magnifying visor, and trimmed to the lines with a very sharp pair of scissors.
I found that by keeping the cut moving constantly, I was able to achieve a smooth line without many ragged edges. (Something I had trouble doing with an X-Acto blade.)
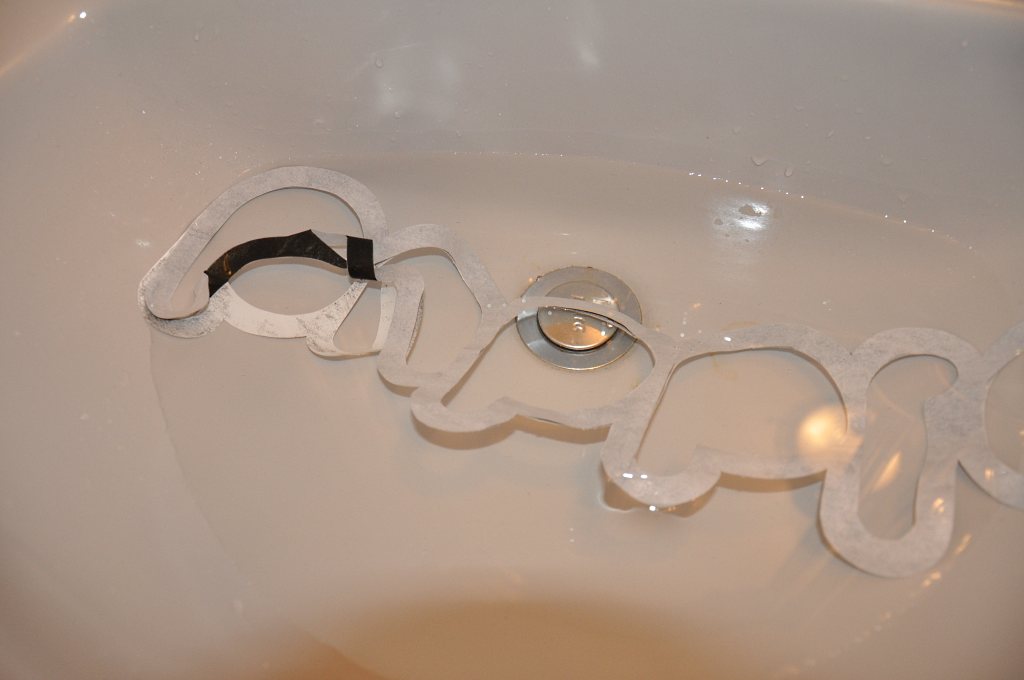
I then filled a sink with cold water and placed the finished letters in the water.
After about 20 seconds, the paper floated off the Ultracote. I removed the paper and dried the Ultracote with a paper towel.
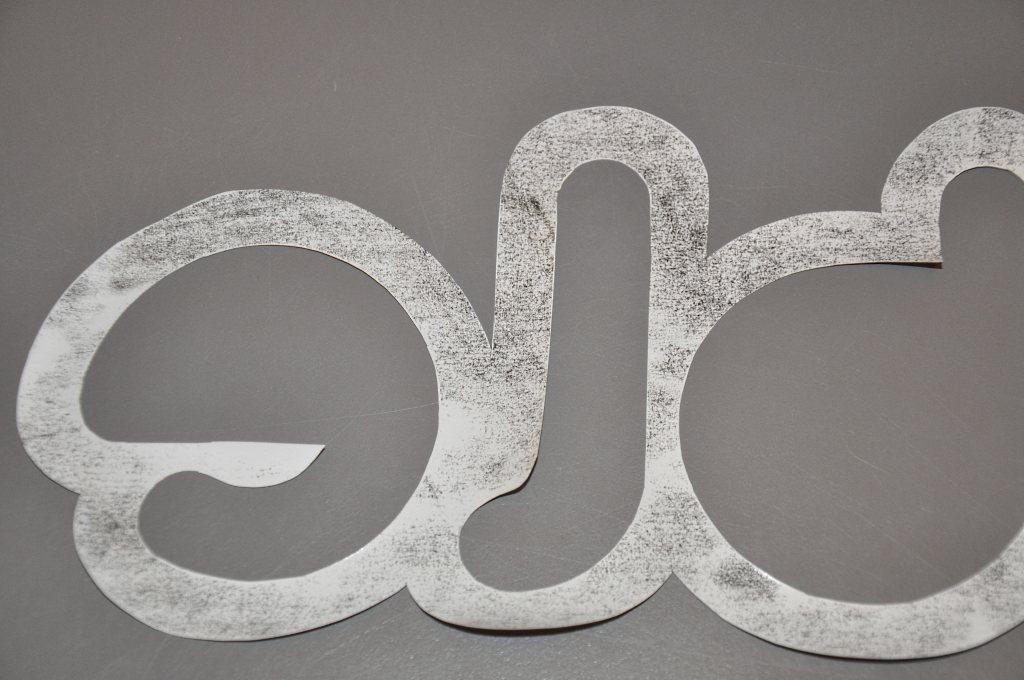
As you can see here, some of the black ink stayed on the Ultracote. I checked to see if this was noticeable when placed on the red wing, and it was not... So I went ahead and used the letters as they were.
In hindsight, I should have reversed the colors, so that white - not black - was under the part I wanted to keep. -- At any rate, I'll know that for next time.
After the letters were dry, I ironed them onto the wing using the 220 degree setting as usual.
I then proceeded to repeat the process for the word "dancer."
Note: You may notice that I decided to leave out the white dots in the center of the "b's." I did this at my wife's suggestion as it seems to achieve a more stylized look that we liked better...
I then covered the bottom of the center panel.
I continued the red, white, red, white block pattern that I started on the wing tip panels.
In this shot you see how I attached the covering to the rib. I sized the panels to fall on the rib breaks, so that I could attach the covering to wood at all sides.
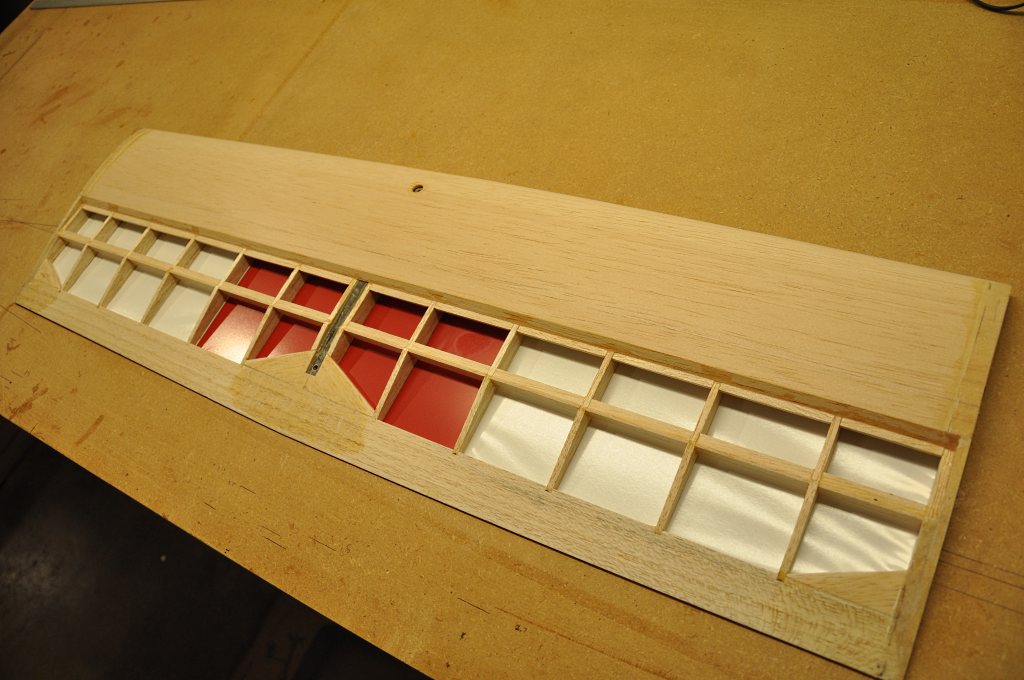
Here the bottom of the center panel has been completely covered.
You'll note the covering has not been shrunk tight yet - that will be done once the top is covered as well.
I covered the spoiler bay ends first before starting the bulk of the top covering.
Working from the rear to the front I then covered the entire top of the center panel.
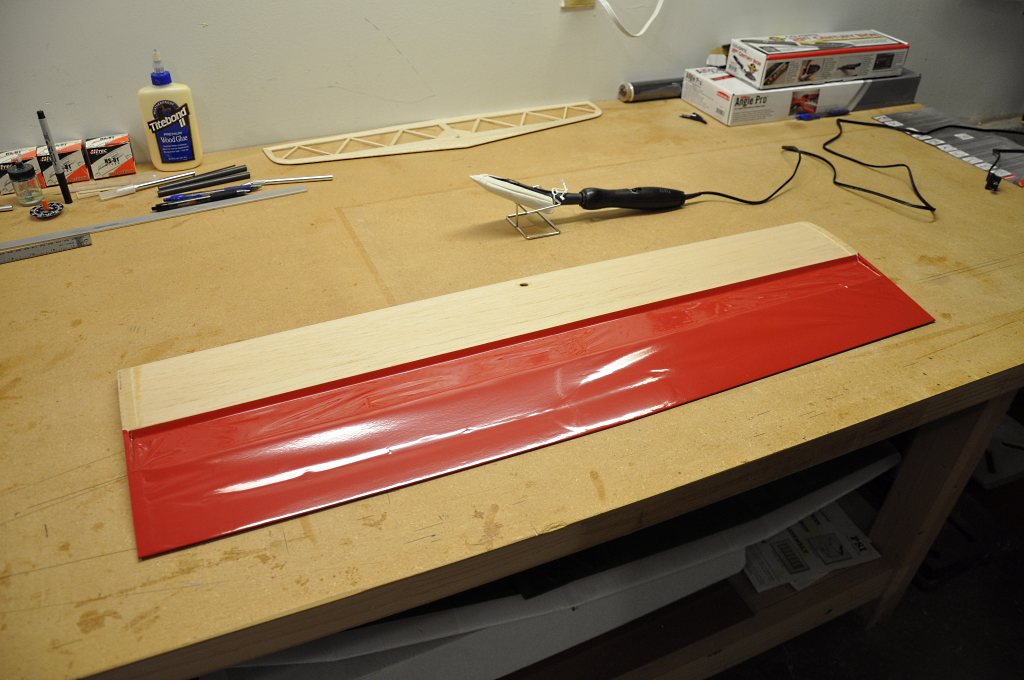
While the left tip panel had the words "bubble dancer", the right tip panel will have a red to white curve.
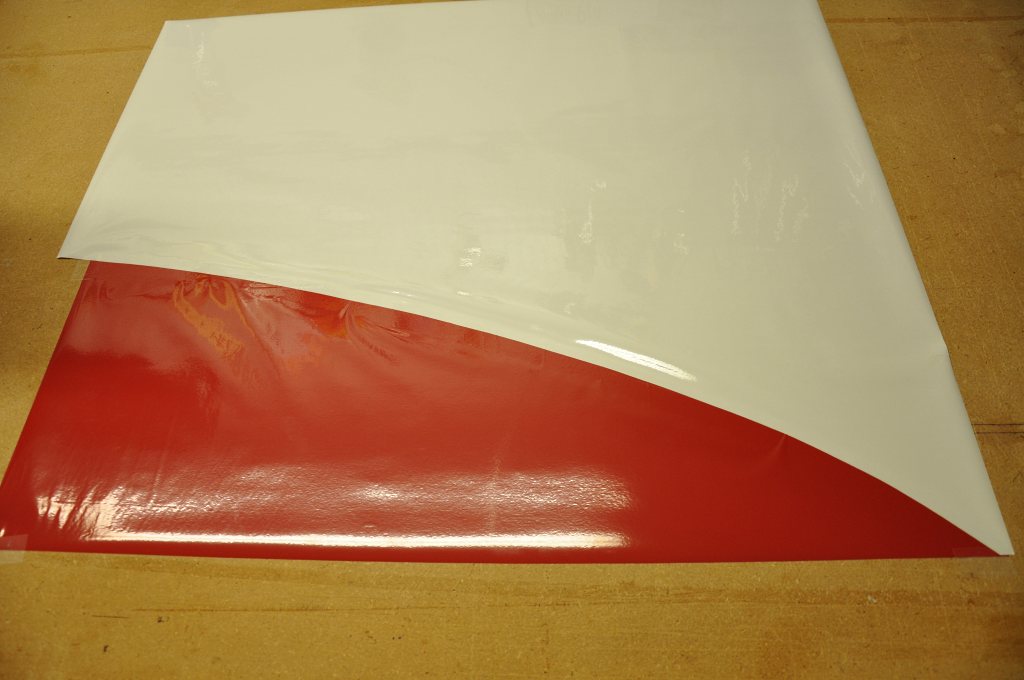
To make this transition, I freehanded a suitable arc on the red covering. I then duplicated the arc on the white covering and overlapped the two by 1/4 inch. I then glued them to each other with my covering iron.
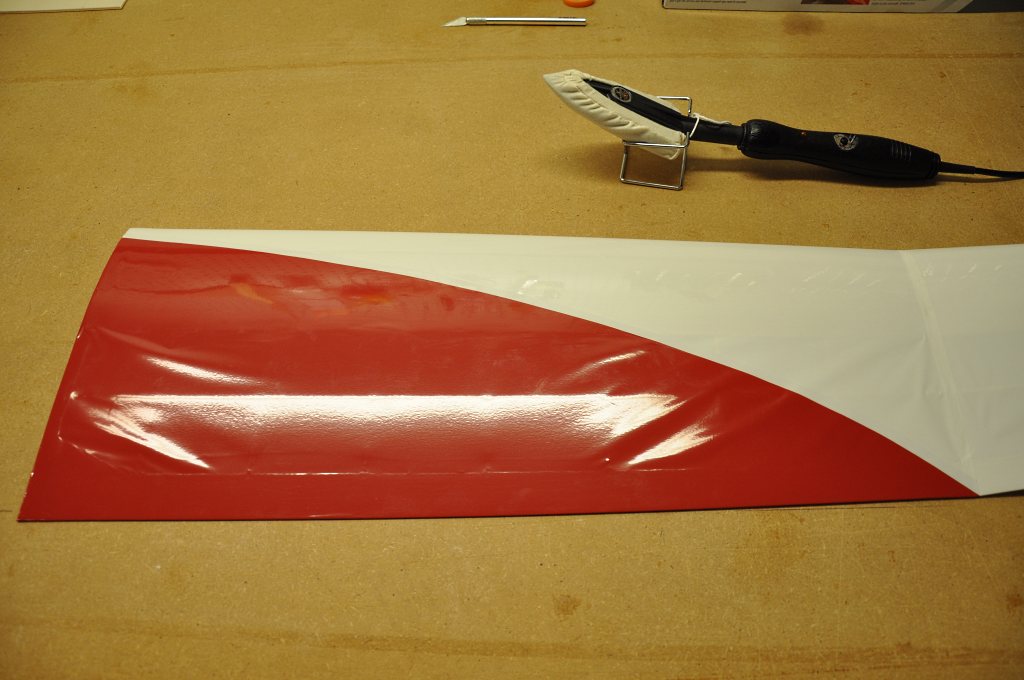
I place the red/white combo over the inner part of the tip panel and ironed everything in place.
This shot was taken before I tightened everything up by shrinking the covering with the 320 degree setting.
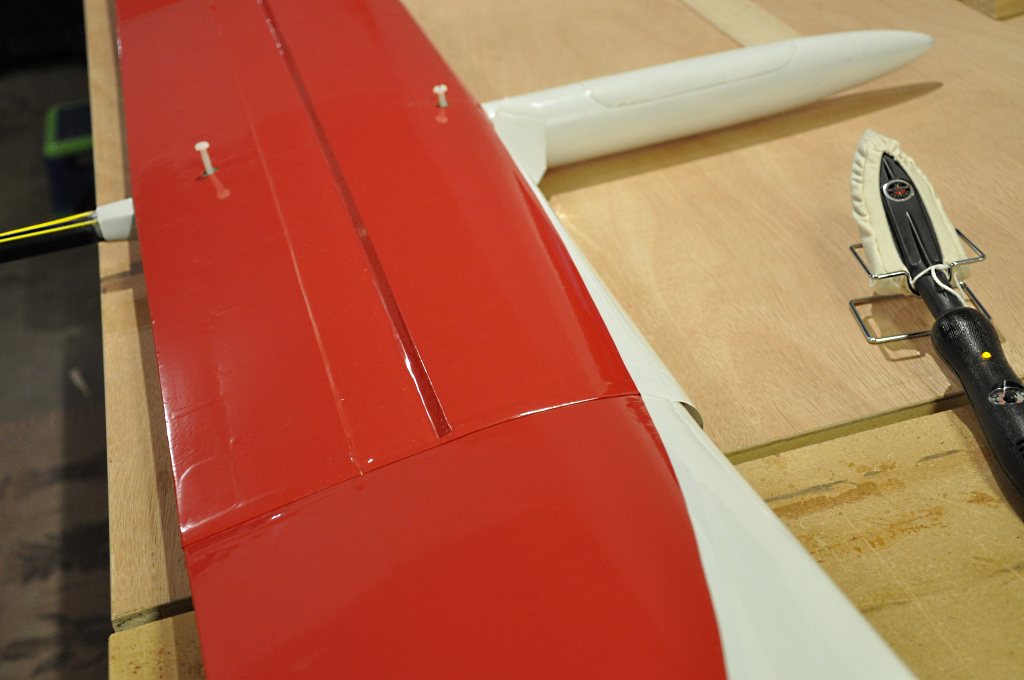
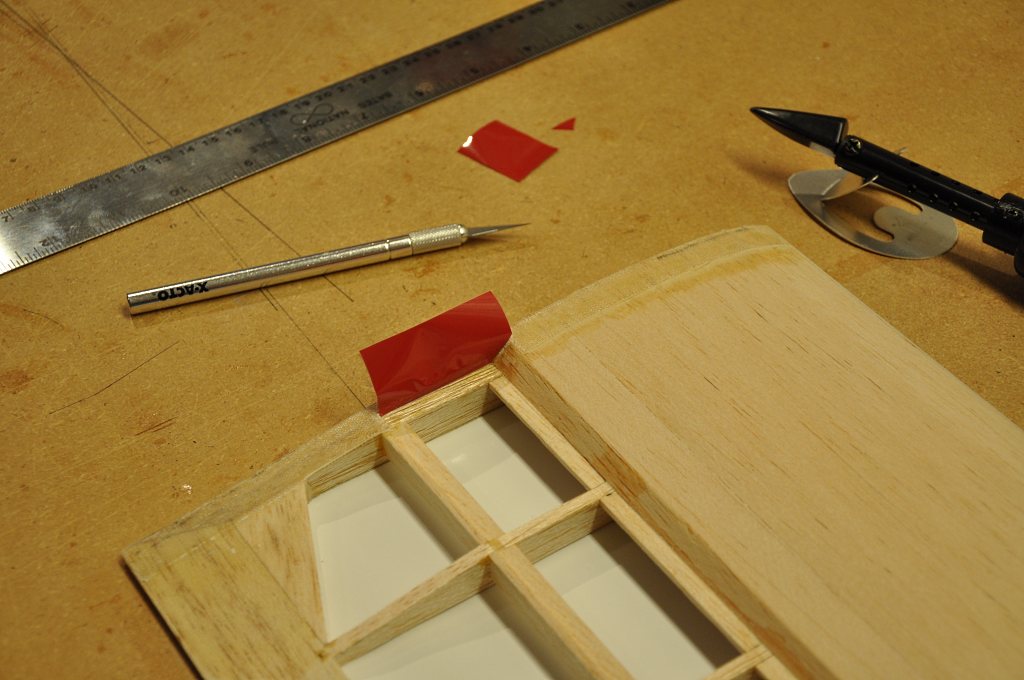
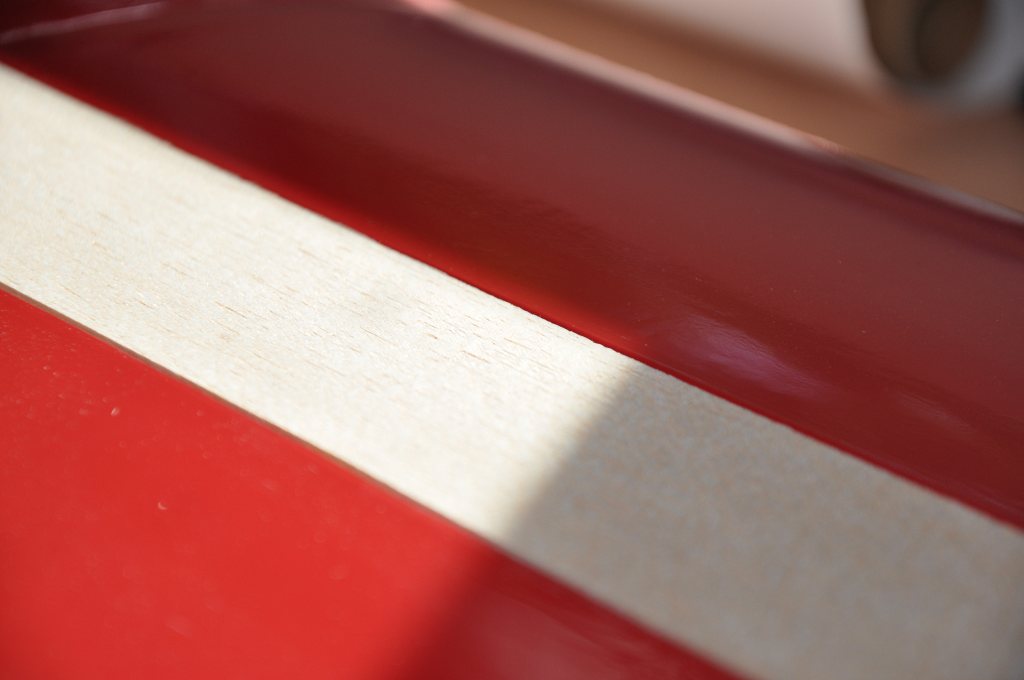
The last bit to do for my red/white curve was to add just a little white trim to the right side of the center panel.
I cut a piece of white using the same curve template that I used for my other pieces, and then carefully tacked it to the leading edge of the center panel.
This process was freehanded to get the curve lined up adequately with the tip panel's curve. (The picture shows the curve line tacked, but the rest of the Ultracote is still free.)
Covering the fin and rudder was a bit more challenging, since they were already attached to the tail boom.
I tackled this job in 4 stages: by starting each sheet with the straight hinge edge, I was able to get a nice even line along the hinge, and then worked outward from there.
Having the plane nicely propped so it couldn't move was a big help while doing this!
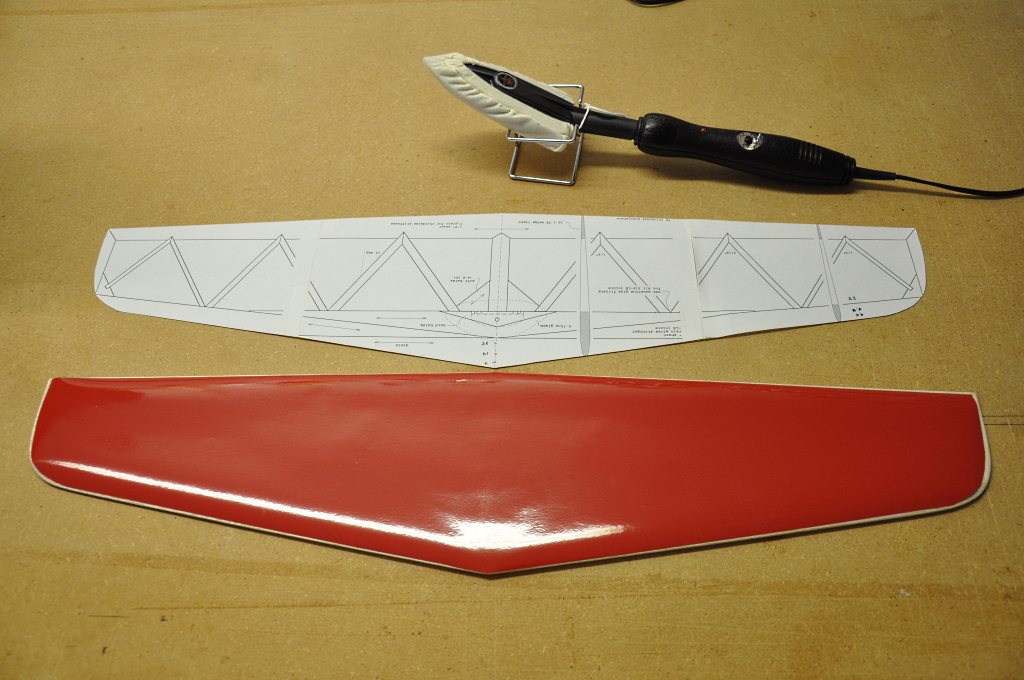
I then cut a solid red piece for the stabilizer bottom and ironed it in place.
(I used the plan print out as a template for cutting the Ultracote.)
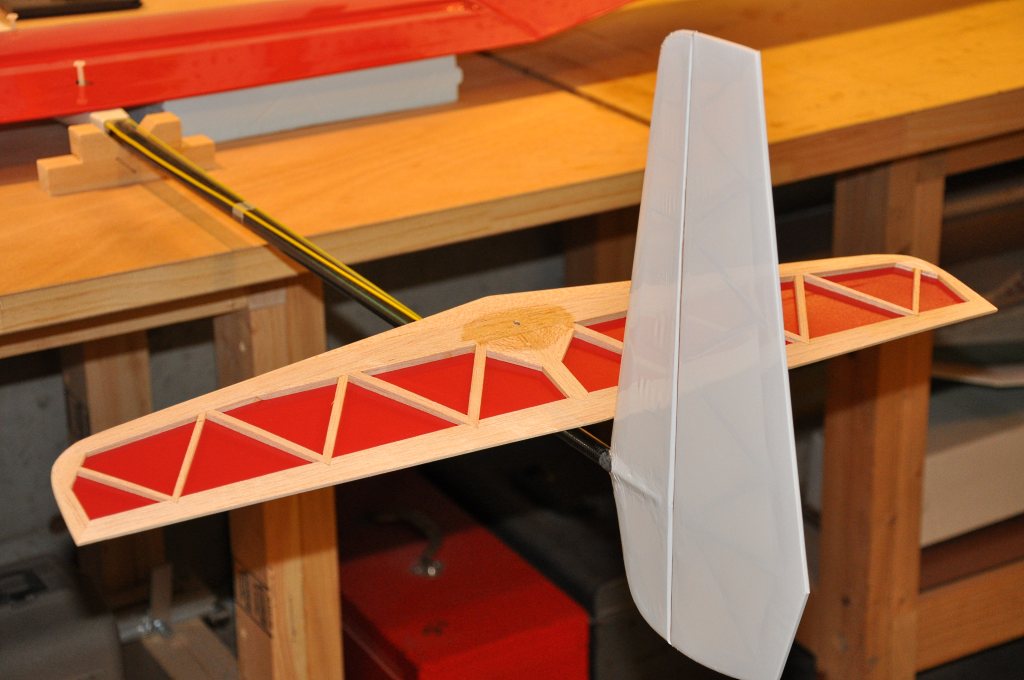
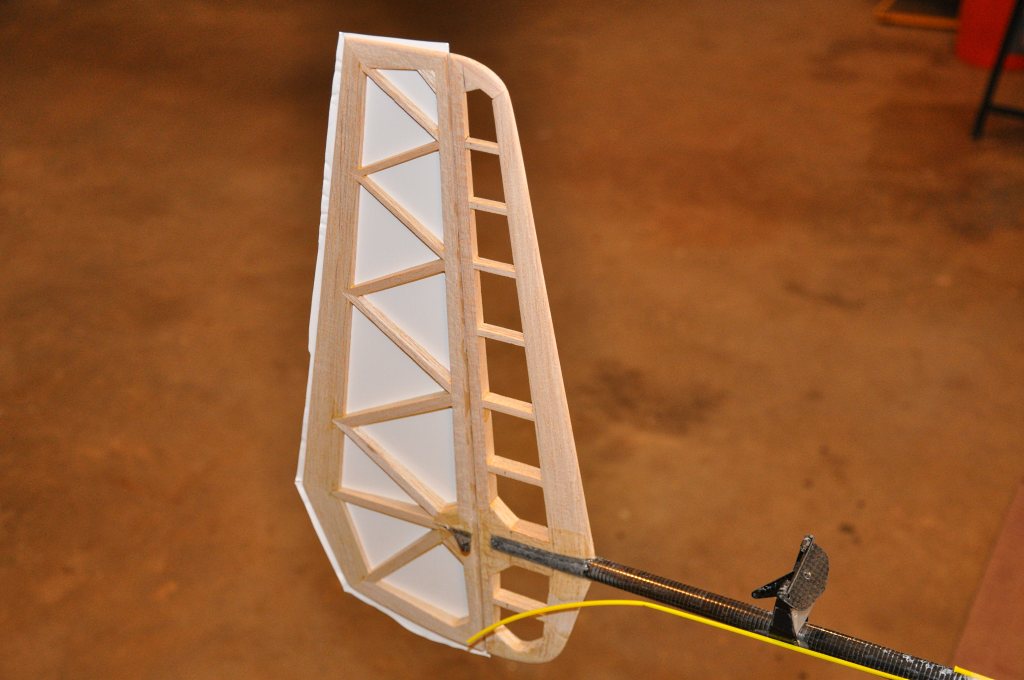
Just a shot of the completed fin, and the partially completed stabilizer.
You will notice the .75 oz. fiberglass patch in the center of the stab. There is a matching patch on the bottom of the stab as well.
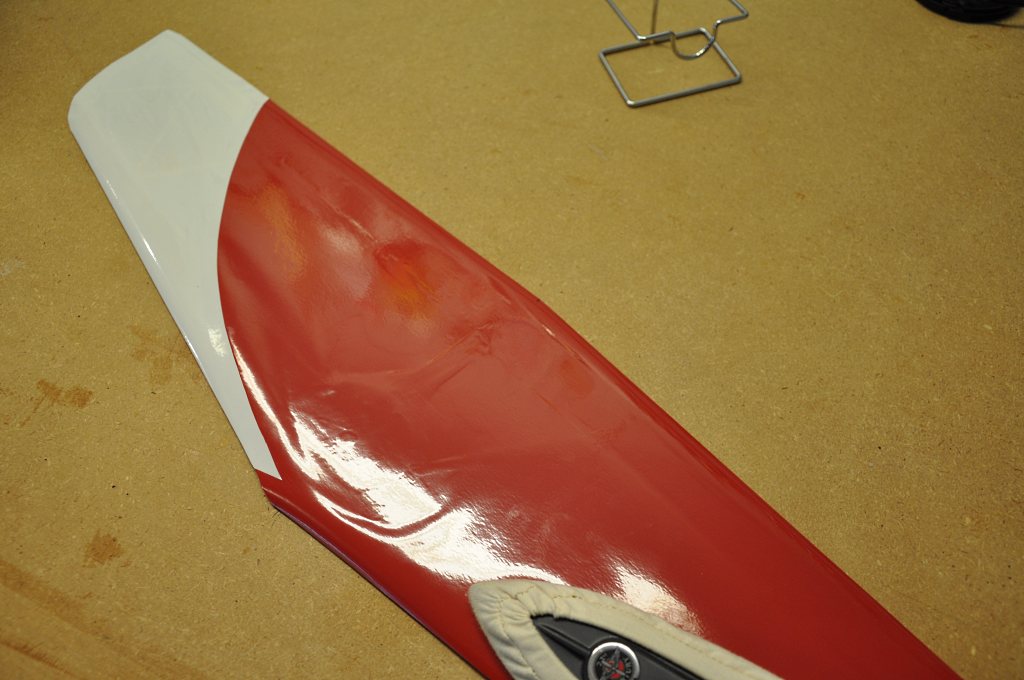
I freehanded the curved arc for the stab top in the same way that I did for the right wing top. I used the plan cut-out (see the picture above) to draw several arcs and placed the cut-out on the glider. I then climbed up a ladder to see which line looked best when viewed in conjunction with the wing.
I cut the red and white pieces, tacked the white to the red, and then ironed the completed piece to the stabilizer.
To install the spoiler, I first revisited it's shape and size.
I placed the spoiler into the spoiler bay and trimmed and sanded a few spots until the spoiler had guaranteed clearance around all sides and sat comfortably in the bay.
I then printed Mark Drela's post on how to cover the spoiler to give myself the best chance to get it right.
I then covered the bottom first, wrapping about 1/4 inch overlap to the top side at the leading edge.
Important: Leave the overhang on the trailing edge unheated and unglued. We're going to tack top and bottom trailing edge overhang to each other later.
I then covered the top but didn't get the iron close to the trailing edge.
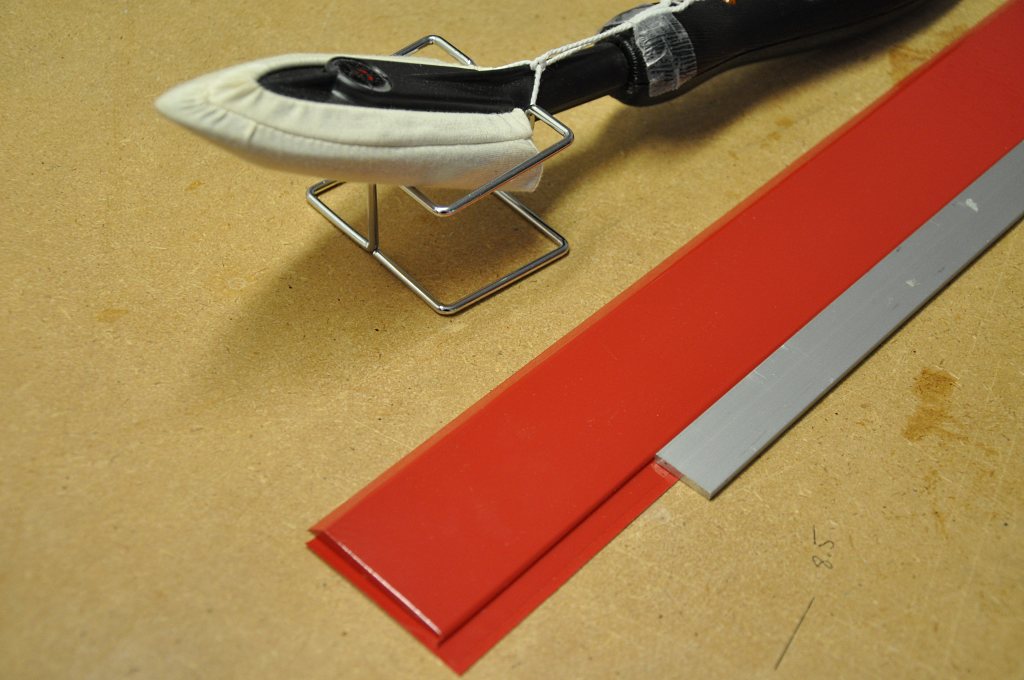
With my metal straight edge, I pressed both top and bottom trailing edge overlaps together, and the heated the straight edge with my iron to seal the two pieces to each other.
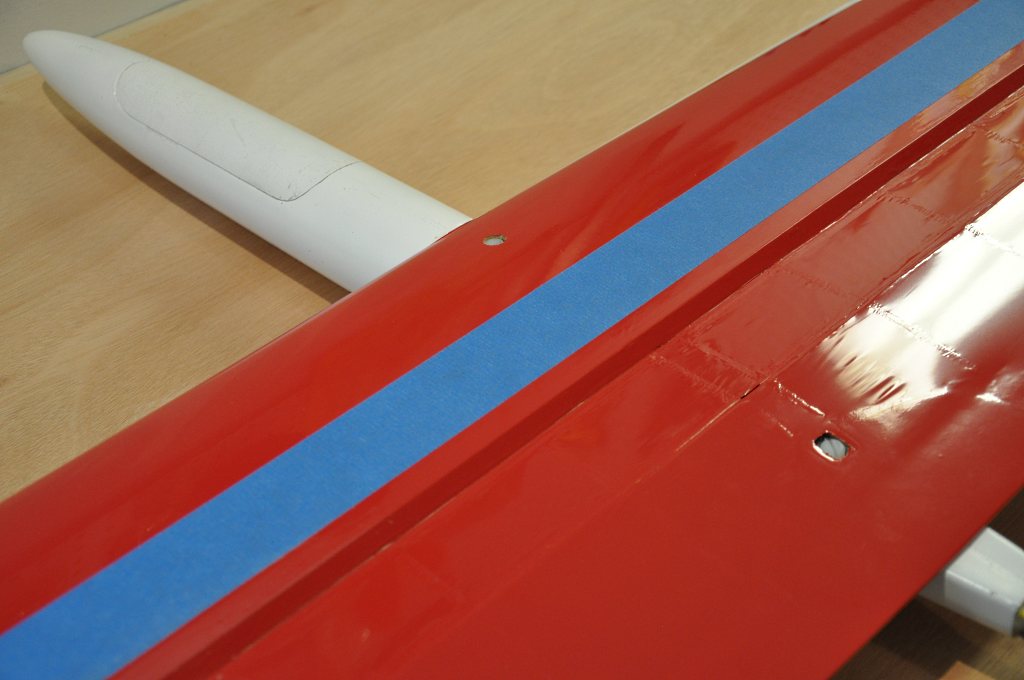
Next, I masked off a portion of the wing and spoiler and sanded the shine off the covering.
This will allow the covering hinge to adhere better when iron it in place.
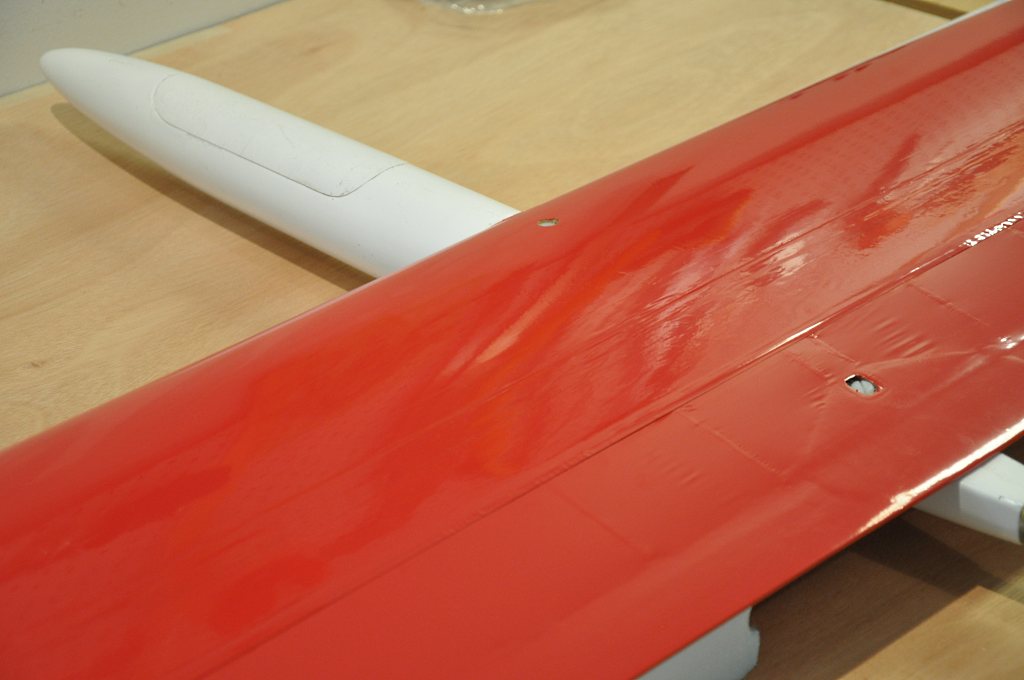
I then ironed on a 1 and 1/4 inch strip of covering to form the spoiler hinge.
All in all, I was happy with the result. The spoiler stayed dead straight and you can see how the trailing edge overlap, covers up any spoiler bay gap.
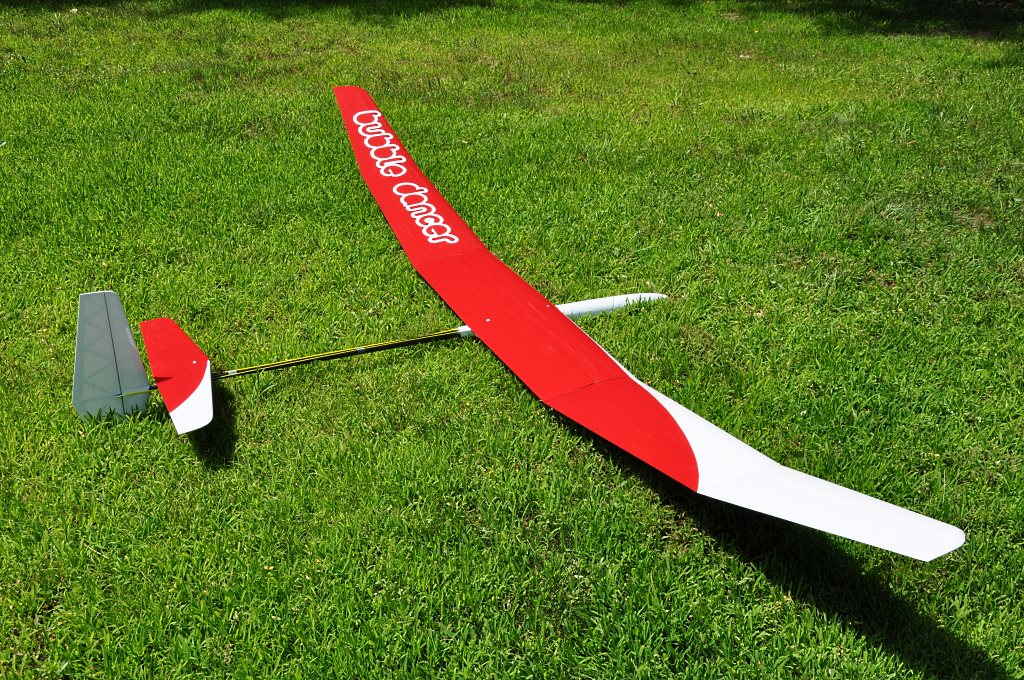
NEARLY DONE!!!
All that remains is to install the radio gear.
How about that! We should have some flying pictures soon!
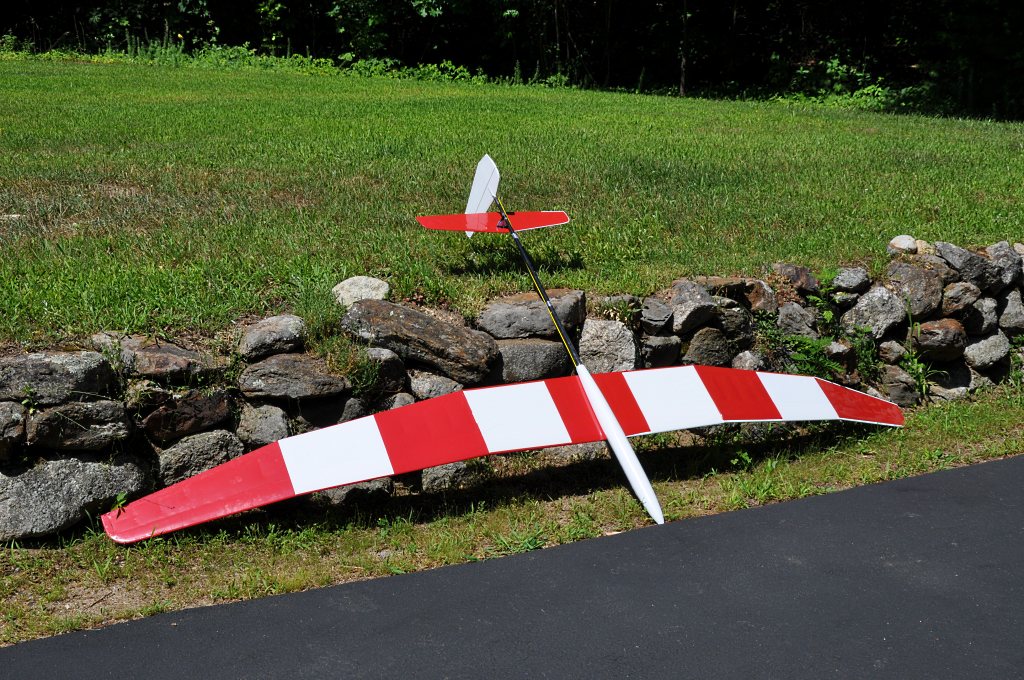
And just a shot showing the reverse side.
My intention with this color scheme was visibility and differentiation. We'll see how it works out in flight...