Now that I've finished my Bubble Dancer, it's time to write up my impressions of the build process. What was easy? What was hard? What would I do differently next time, etc.
As I've mentioned before, there are certainly others out there with more experience building these craft than I have, so keep in mind that these are just my impressions.
Maybe the best way to view what I write here is to consider them as notes for myself - for the next time I build a Bubble Dancer. :-)
First up, some comments about the overall build process.
I found this to be a very challenging build for several reasons. It used several materials (carbon, kevlar) that I had never used before, so there was a bit of a learning curve with those. Making my own mold and pod was a new and fun challenge.
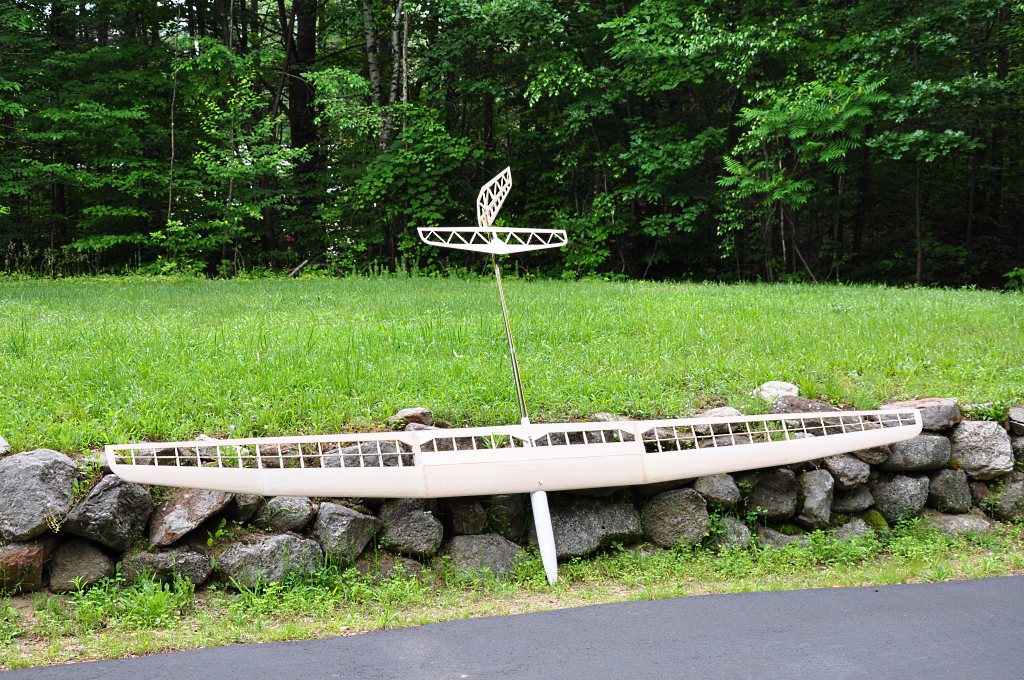
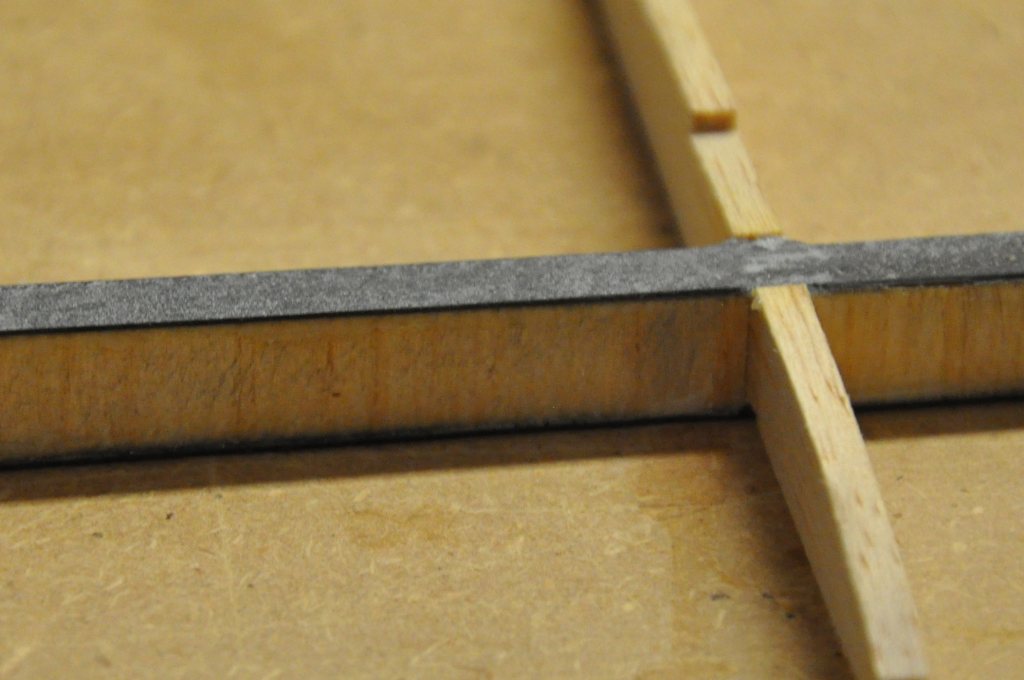
The design of the Bubble Dancer is also a challenge because almost everything tapers, the spars, the trailing edges, the rib thicknesses, etc. This is done to minimize yaw inertia at the extremities, but means that more effort is needed during the build.
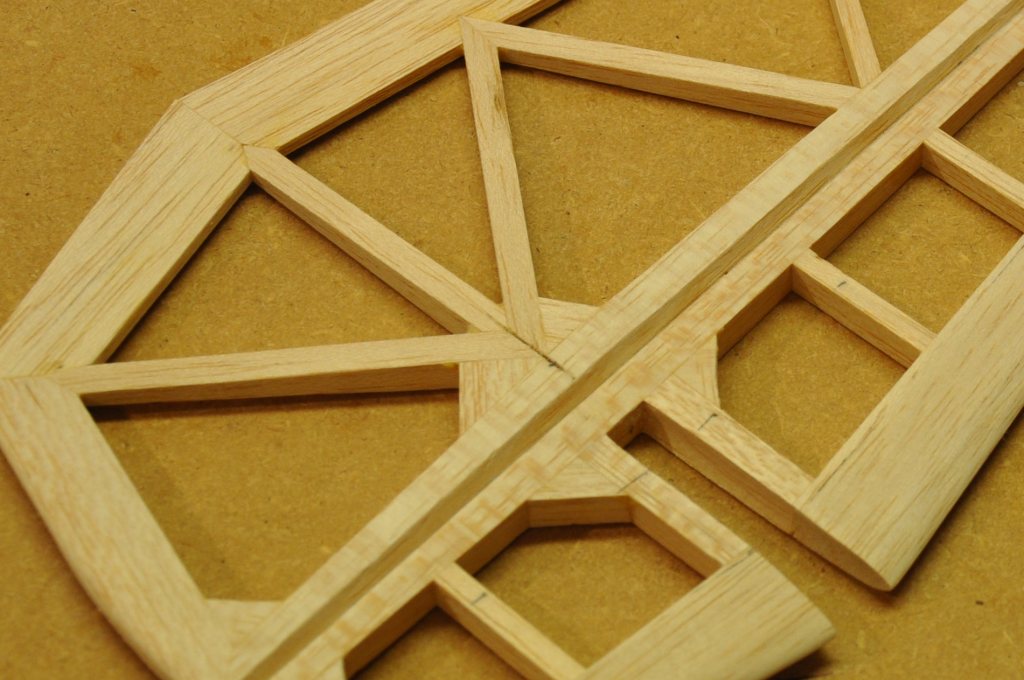
There is a high level of craftsmanship required to make a Bubble Dancer. This is perhaps most evident in making the fin and rudder.
The multiple angles required in the rudder, and the v-joint notching at the trailing edge of the rudder demand absolute precision. Keep in mind that these joints will be sanded to the airfoil shape and that any imperfection in the joint not evident in the initial glue-up will appear once material is removed.
However; patience, the ability to keep fabricating the same piece until it is correct and a good miter sander are sufficient to allow one to step up to this challenge.
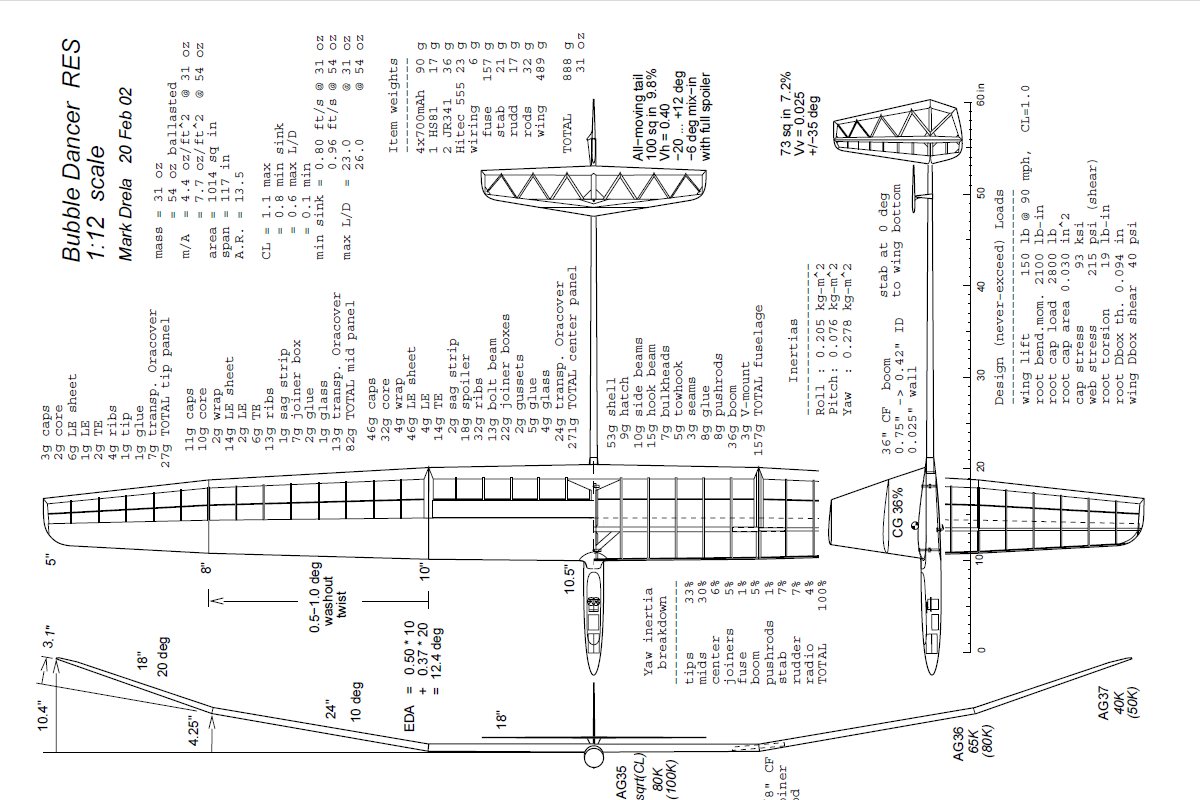
Do yourself a favor and buy the full-size plans from Isthmus Models. The plans come in 2 sheets and only cost $25.
It will save you hours of frustration trying to piece together a bunch of pages from your printer, and most likely you will have to fiddle a bunch with your printer settings to get them to print the correct size.
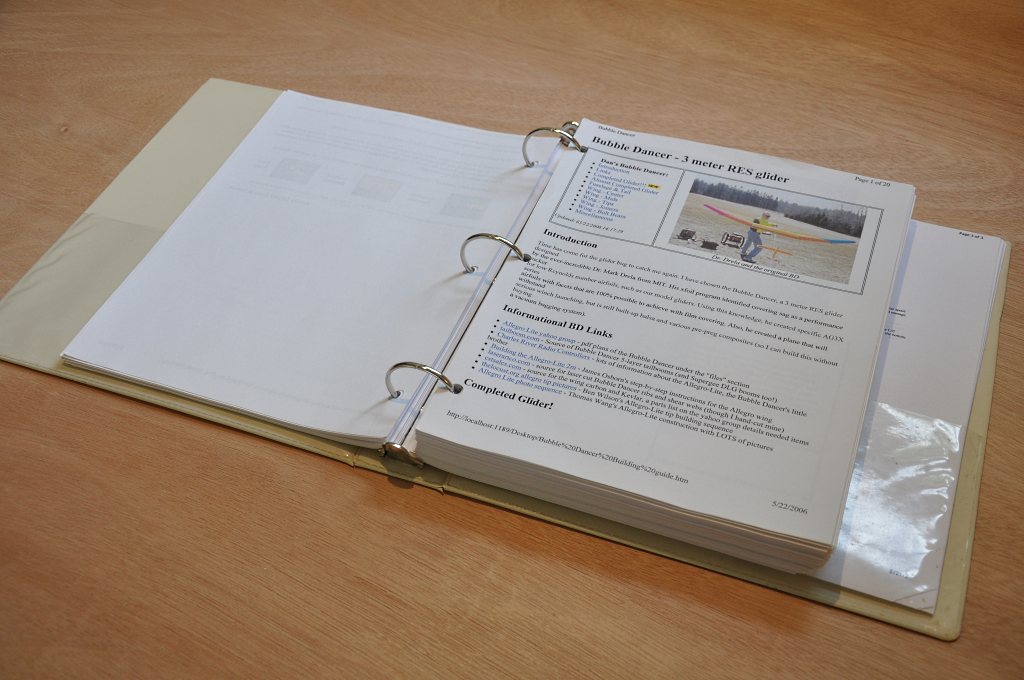
Building a Bubble Dancer is a community project in a lot of ways. You're going to need the help that can be found online from a variety of sources.
When I got started on the project, I read through most of what I could find online, and printed out a good bunch of it so that I could refer to it during the build.
The Allegro-Lite Yahoo Group is also a great place because you can ask for clarification from a bunch of guys who have built these planes, and you might even get some input from Mark Drela himself.
Do yourself a favor. Get all your parts an materials and glues before you start.
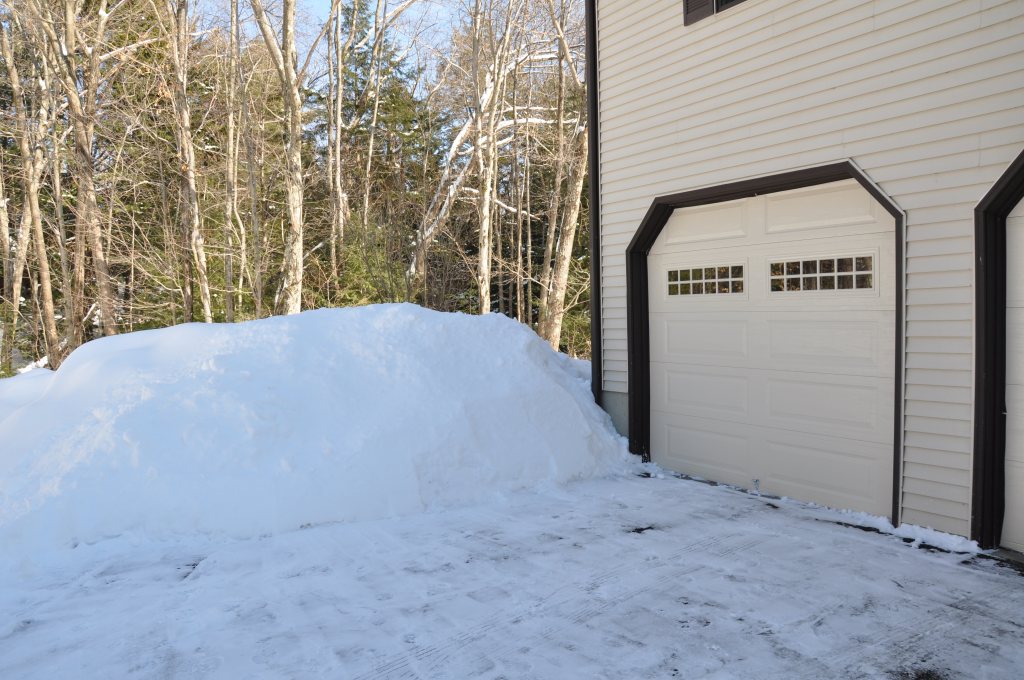
I can't tell you how many trips I made (and how much building time I lost - especially if you have to dig yourself out like this first!) to the hobby shop to buy 1 or 2 items that I didn't get ahead of time!
There is a very helpful bill of materials on the CRRC Bubble Dancer home page that will get you going.
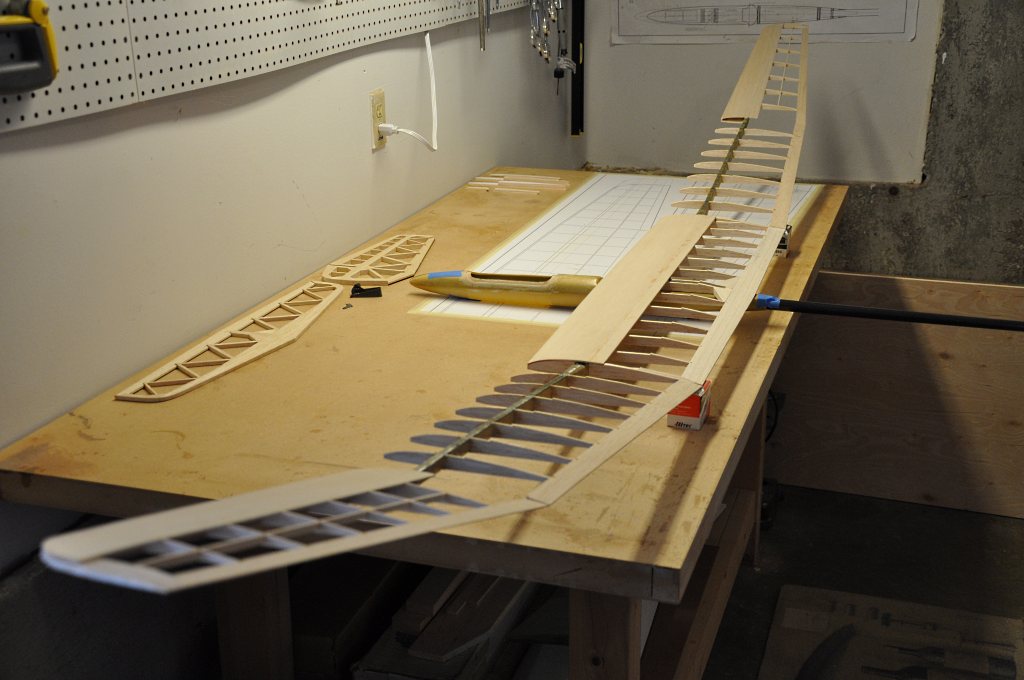
Next time I think I would build all the wing panels at the same time.
I would build a solid fiber board jig with the dihedral angle built into it, and lay up the tips and mids as a solid (bent) spar, because in the end they will be joined anyway. This would save a bunch of work and headache that went into joining the two panels after the fact.
So how would I clamp such a spar? I would router out holes at each rib bay location to allow the use of small clamps at each bay. I would place a metal bar over the spar and clamp the bar to spread the clamping pressure evenly. -- I have the advantage of a large shop, so I have the luxury of a 10 foot jig. :-)
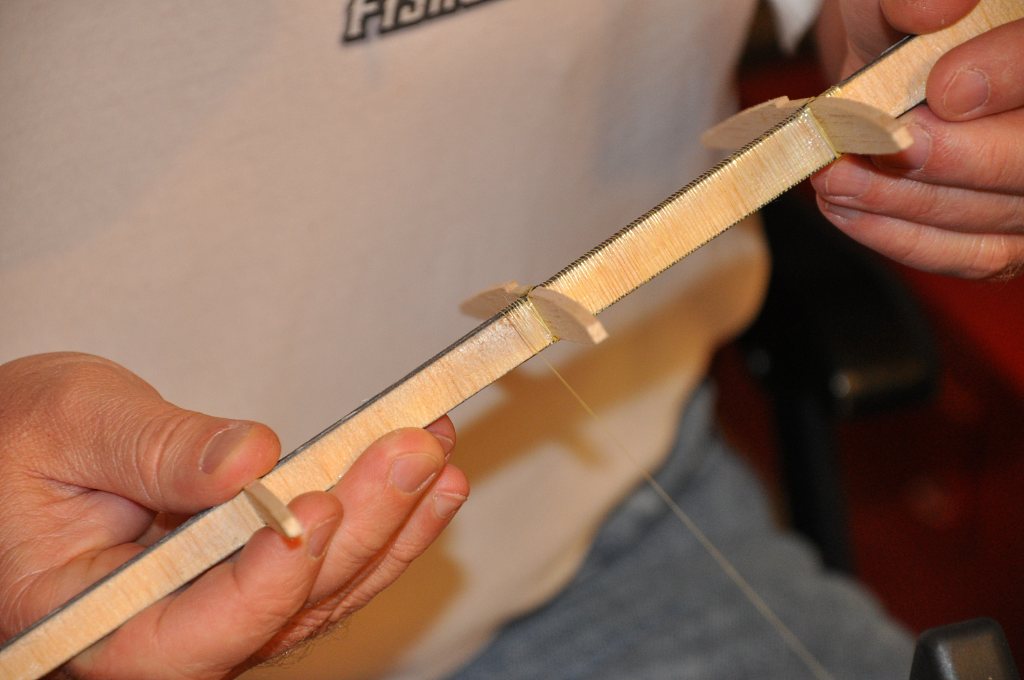
One of the most tedious parts of the whole build was the spar wrapping. Not only did it take long, but the repeated winding introduced a small amount of twist to the spar that I had to rectify when I glued in the sheeting and tightened the covering.
Next time I'd make sure I bought Kevlar tow instead of thread for wrapping the spars.
This change alone would knock about 4 days off the construction time.
If I were to do this again, I would round my carbon spar caps before beginning the spar layup.
Maybe this was suggested elsewhere and I missed it, but trying to round the spars after the fact, with ribs in place was a tricky and time consuming proposition.
Again, it would probably save a day of work if I had run a couple quick passed with my long sanding bar over the top carbon pieces first, rather than having to go bay by bay afterwards. Not only time consuming, but I was always in fear of snapping off a rib while I was doing this...
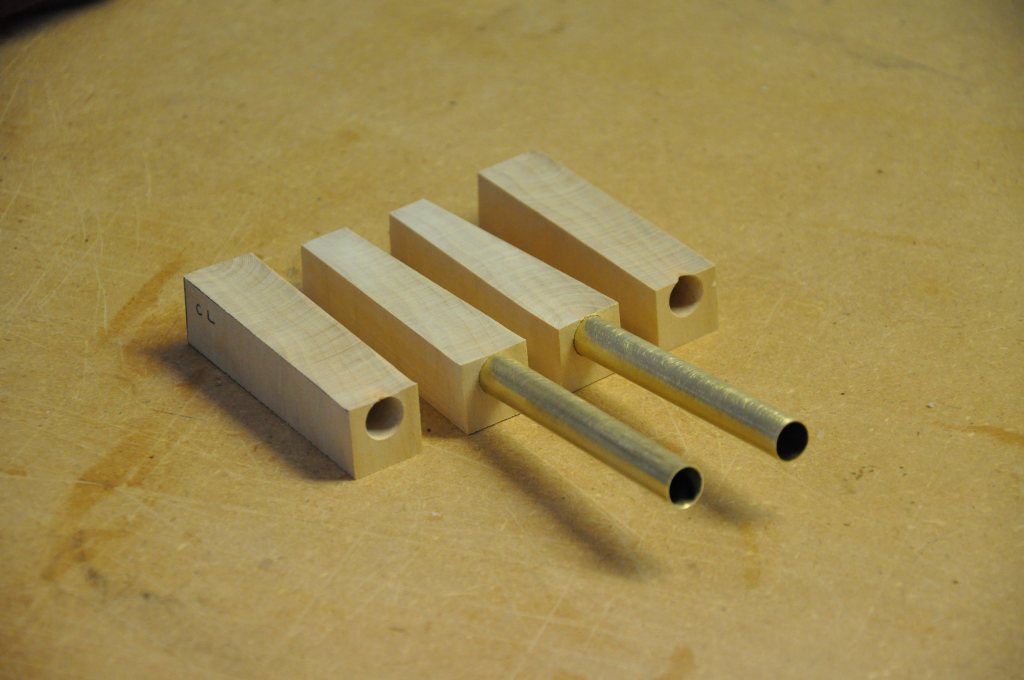
I think next time I would take the time to make my own Kevlar joiner tubes.
This would provide obvious weight savings, and allow for a tighter tube-to-rod fit.
I also wouldn't go off the reservation with these oversized joiner blocks... seriously, what was I thinking? The things ended up being rather larger and ungainly, and why put up with all that extra weight?
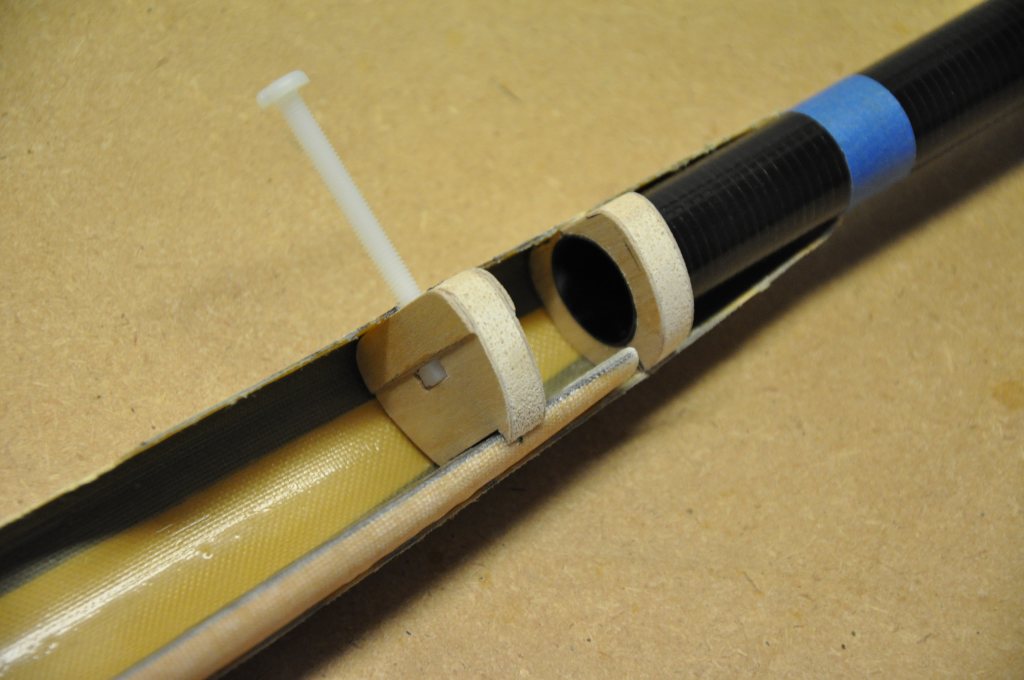
One problem I had with my mold plug was that I made it before I had purchased the tail boom. Because of this, I had to leave my plug's aft end oversized which is, of course inefficient, and left me having to fill in a lot of space when I joined the boom to the pod.
You can probably also tell from the nice "wet" sheen in the fuselage pod that I need to manage my epoxy quantity better... but hey, first time doing this, so we learn and improve, right?
This page is not complete yet!
I'm posting thoughts for this page as I think of them, so most likely the content on this page will continue to grow and get refined.
Check back for the completed write-up!
-- Current through July 18, 2011